Getting automated feedback with rails grade
Join GitHub
If you haven’t already, sign up for a free GitHub account (or sign in to yours if you already have one):
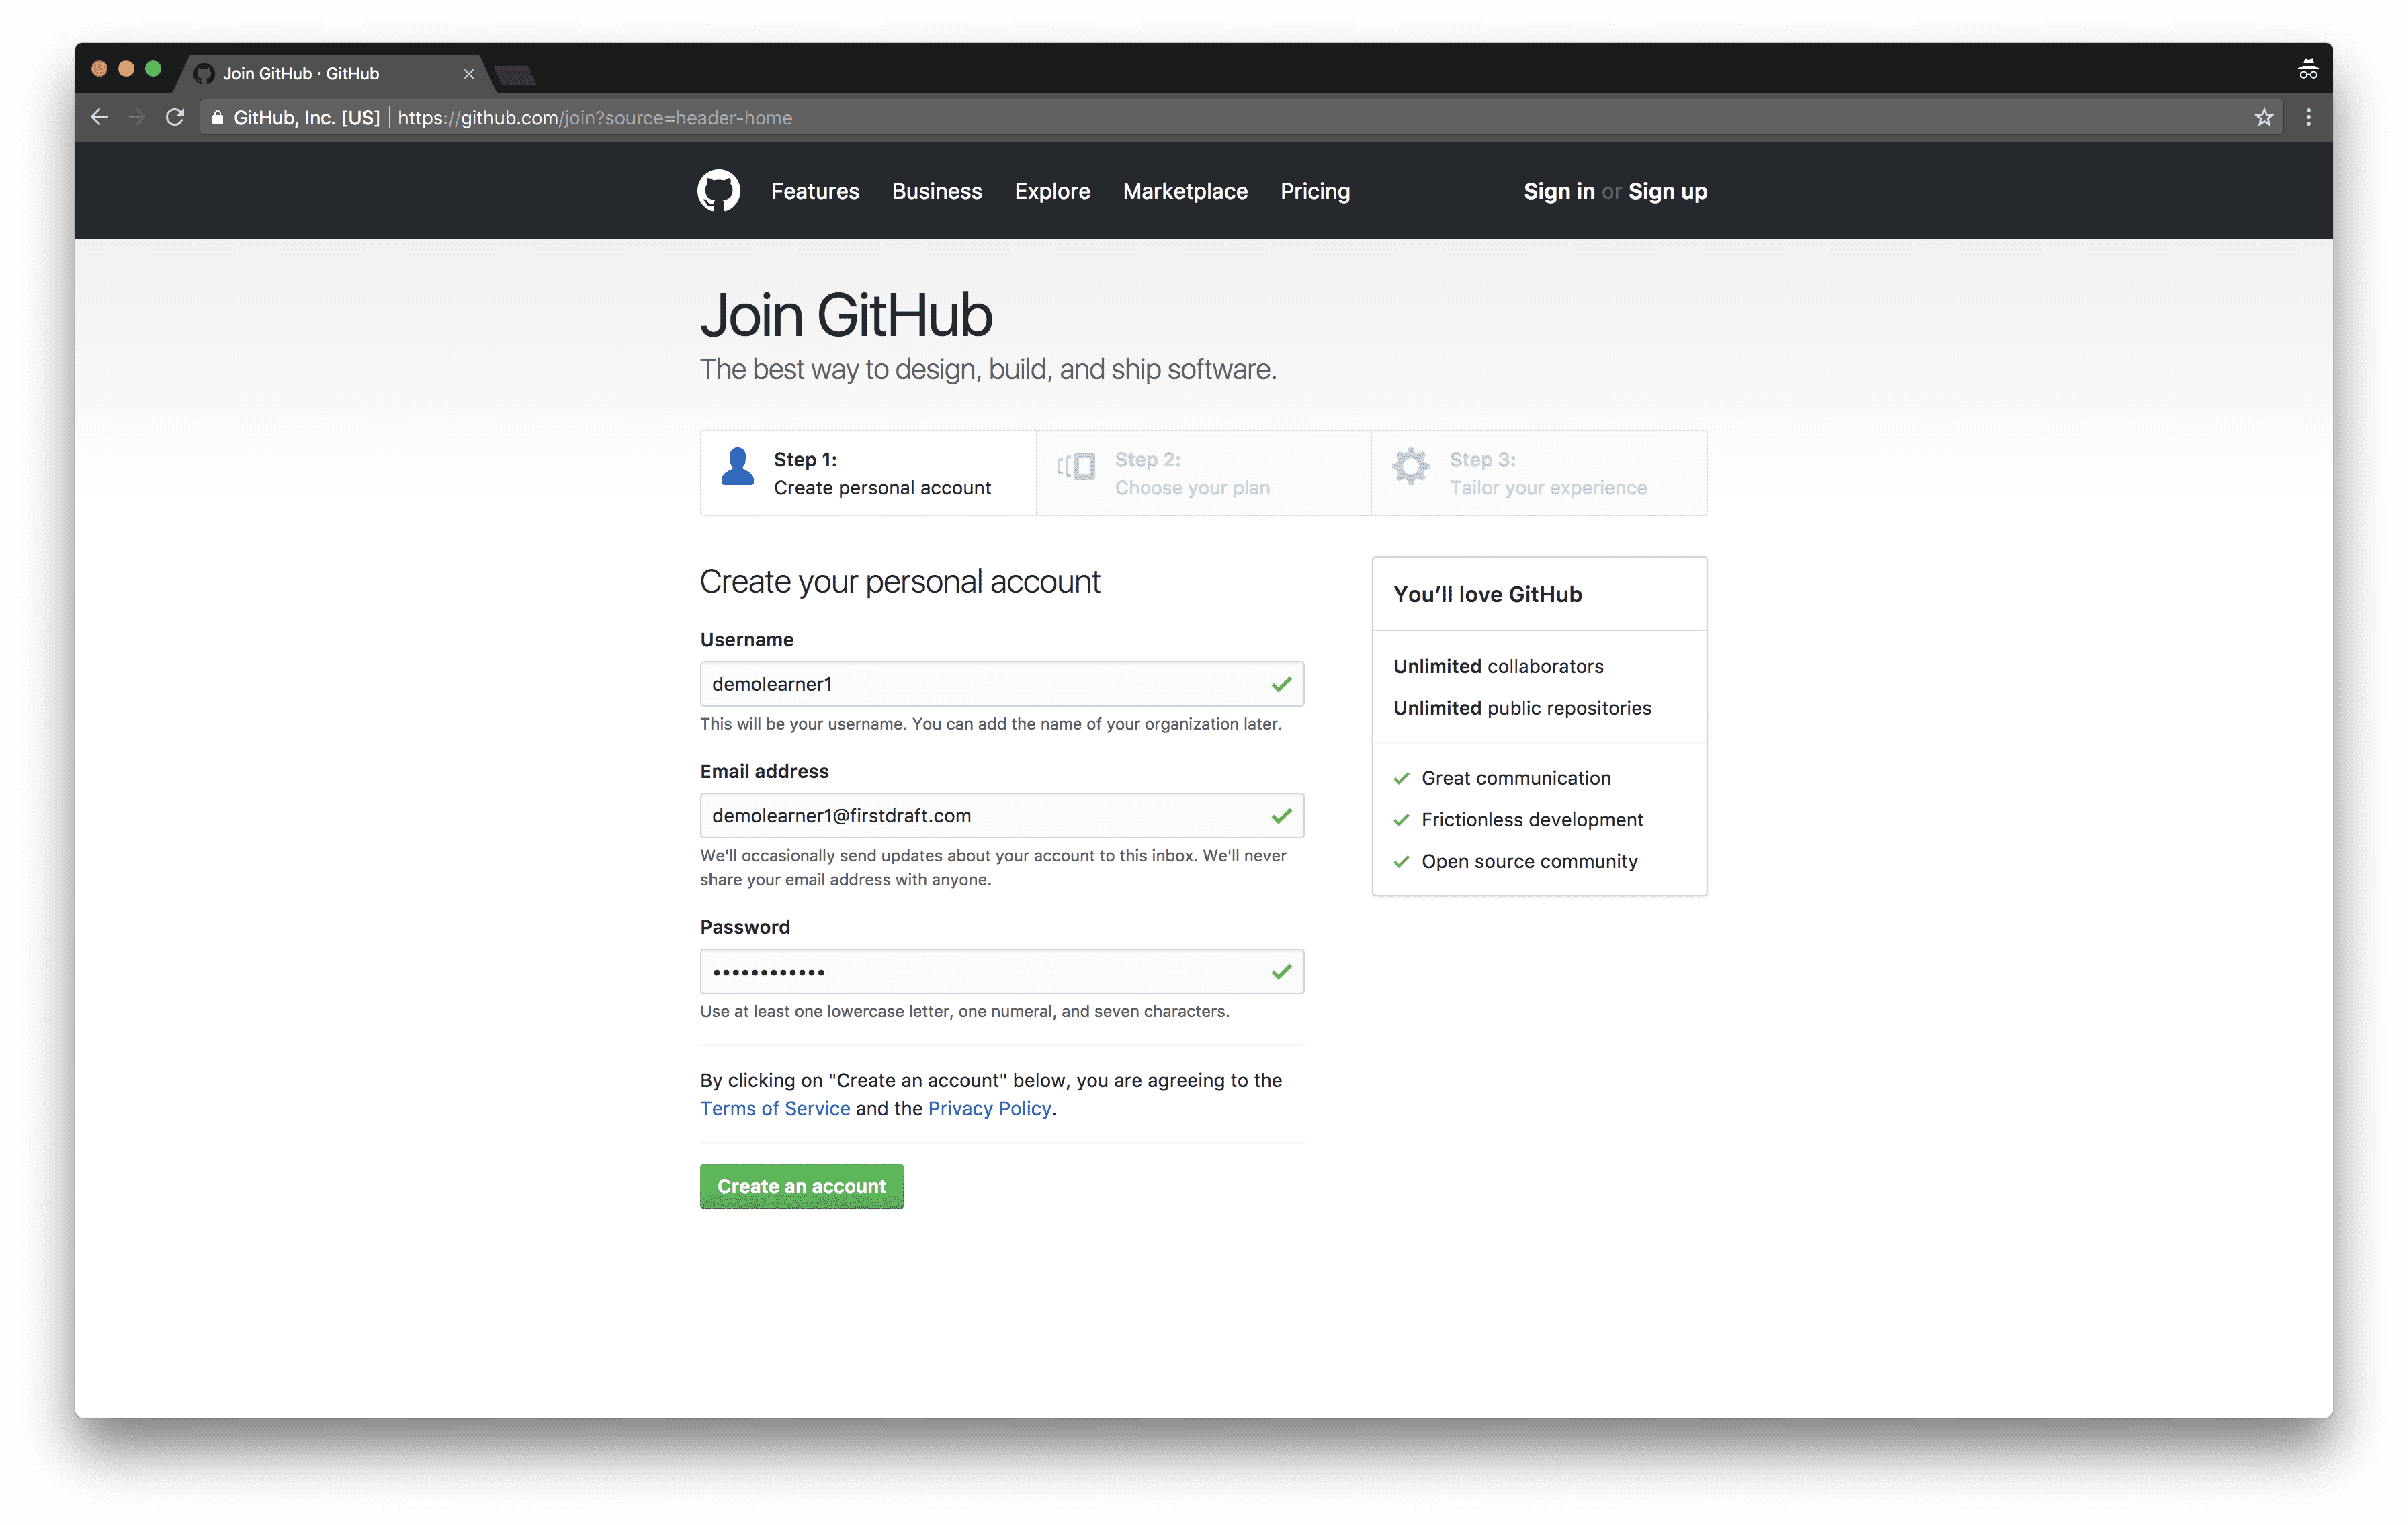
In this example screenshot, I chose a username of demolearner1 — remember yours. Also, don’t forget to check your email and verify the address you entered.
For now, think of GitHub like Dropbox-for-programmers; it’s where we’re going to store all of our code.
Create GitHub organization
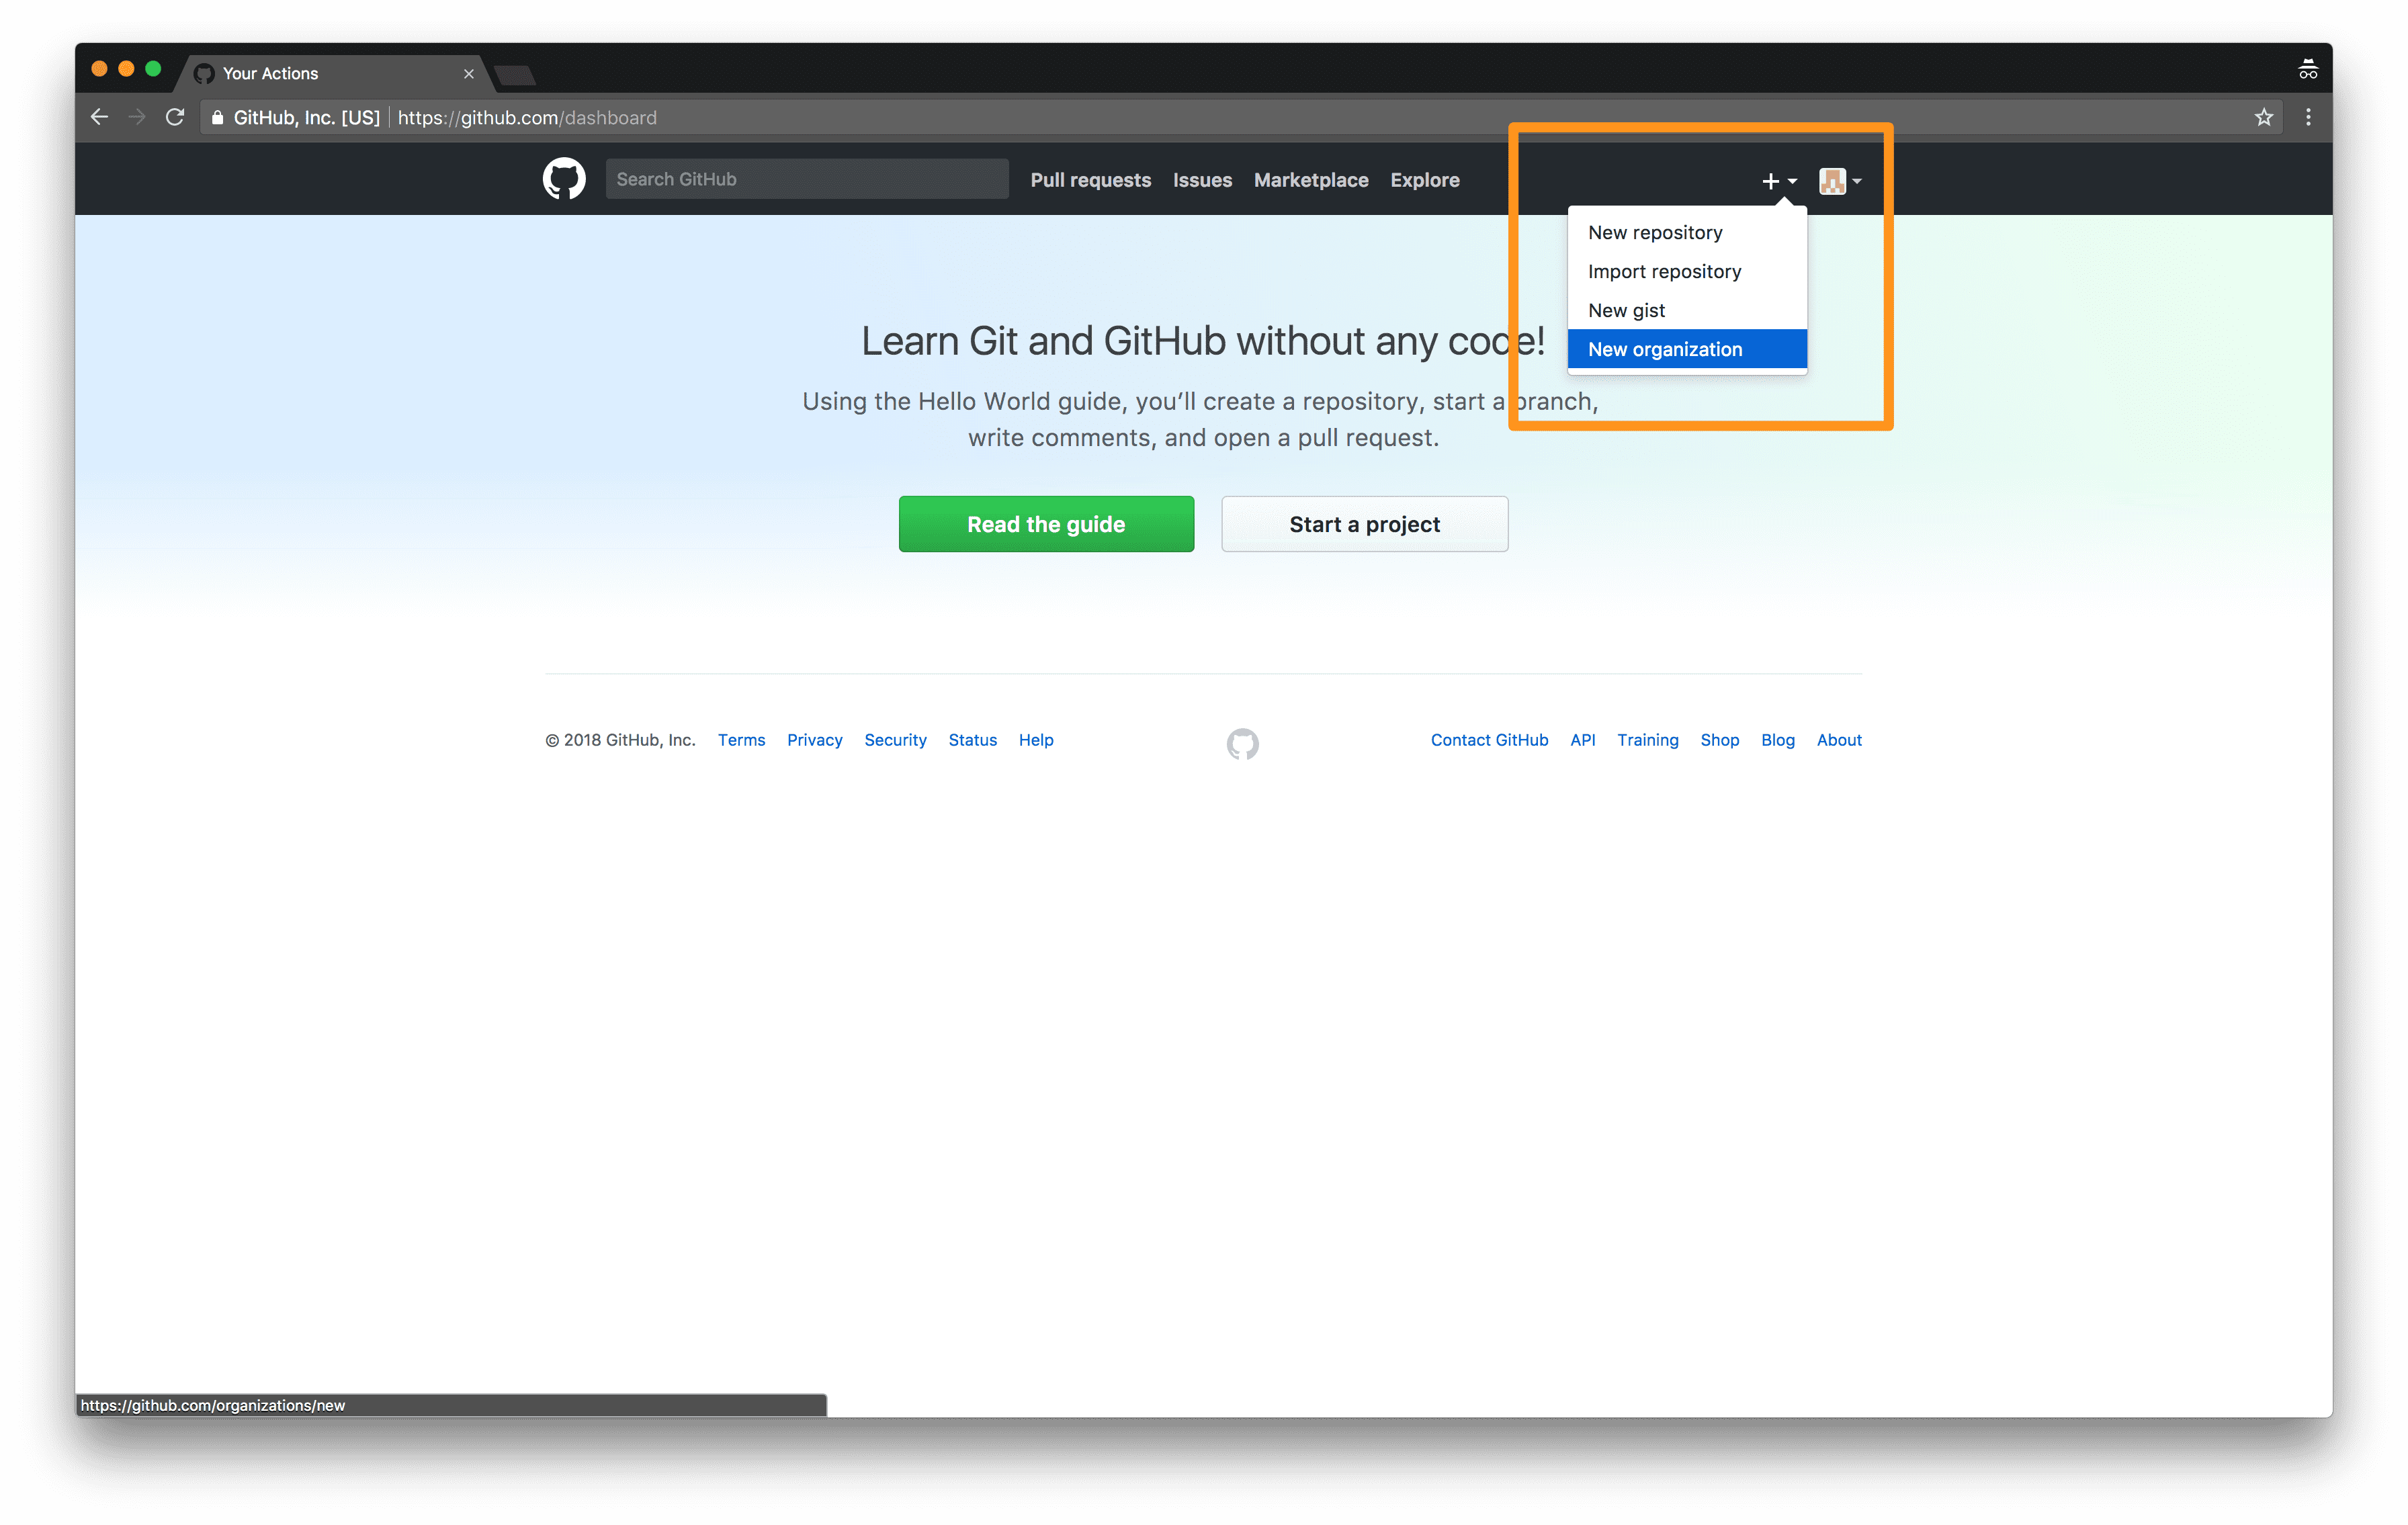
To keep things organized, we’re going to create a separate GitHub organization account for you to store your AppDev projects under (to keep them separate from the personal projects that you’ll hopefully be building soon!).
Click the + on the right side of the navbar and select “New organization”:
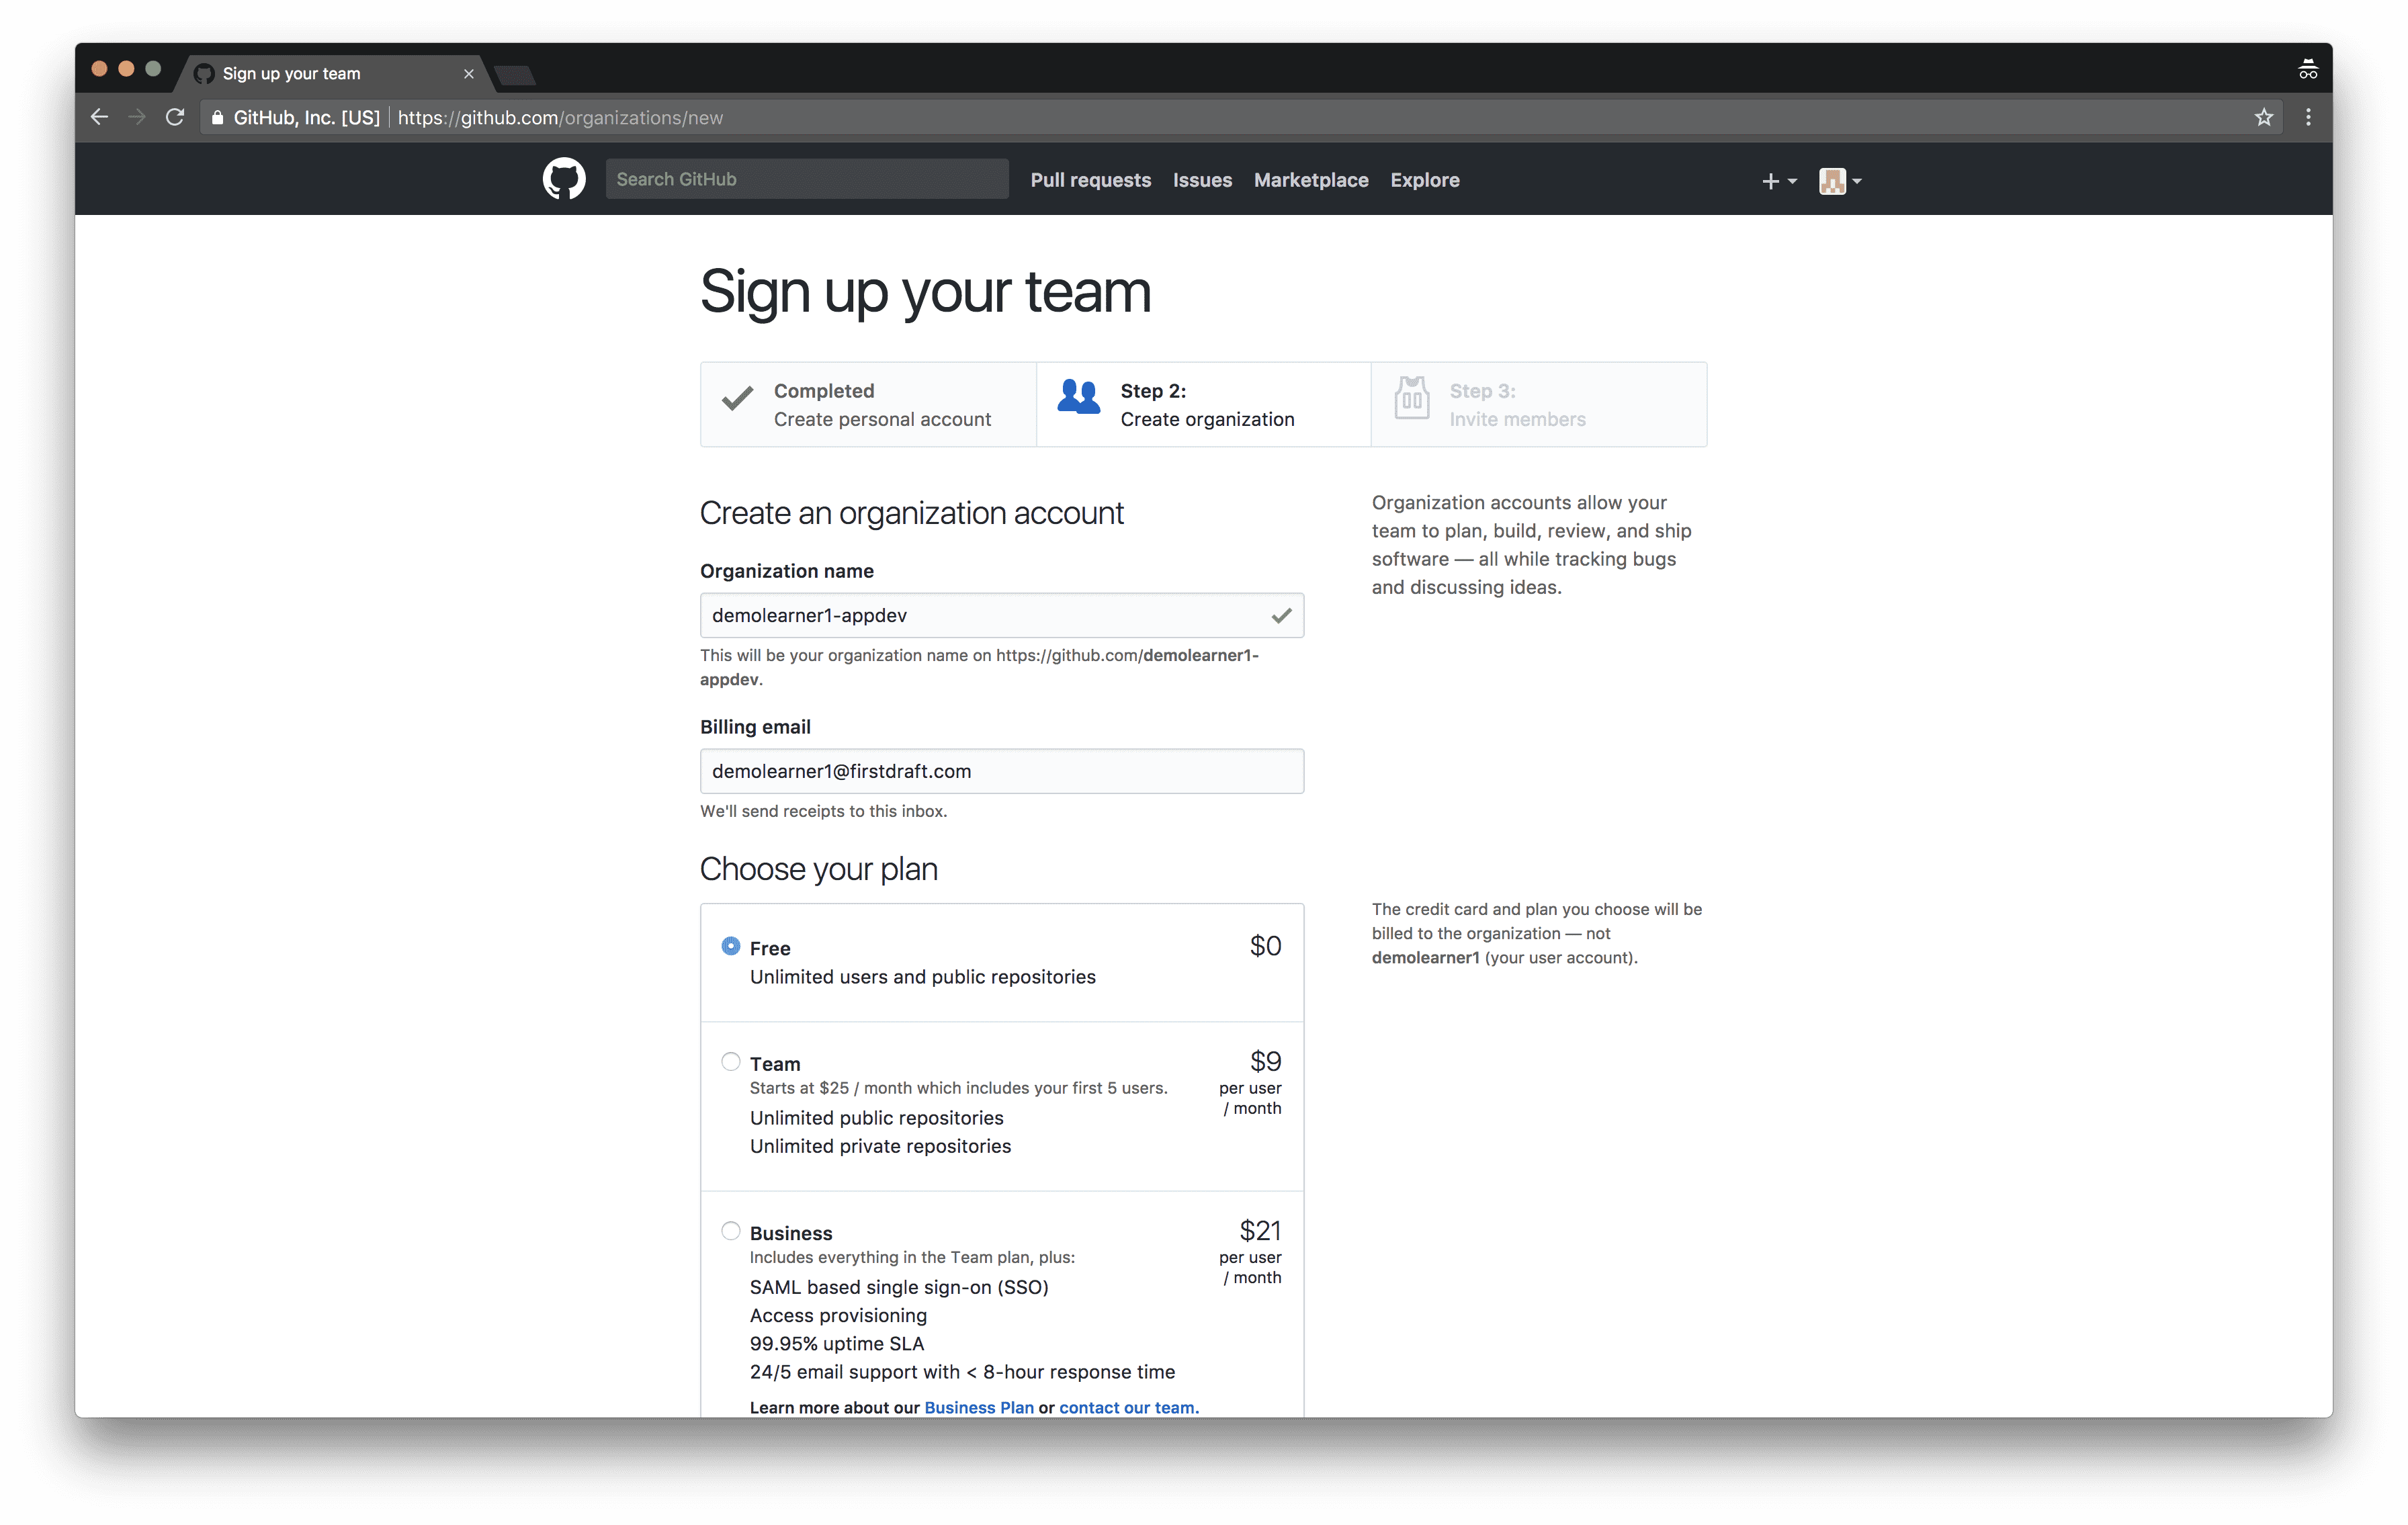
Choose any name for the organization; most students choose [YOUR USERNAME]-appdev. In this example screenshot, I chose demolearner1-appdev:
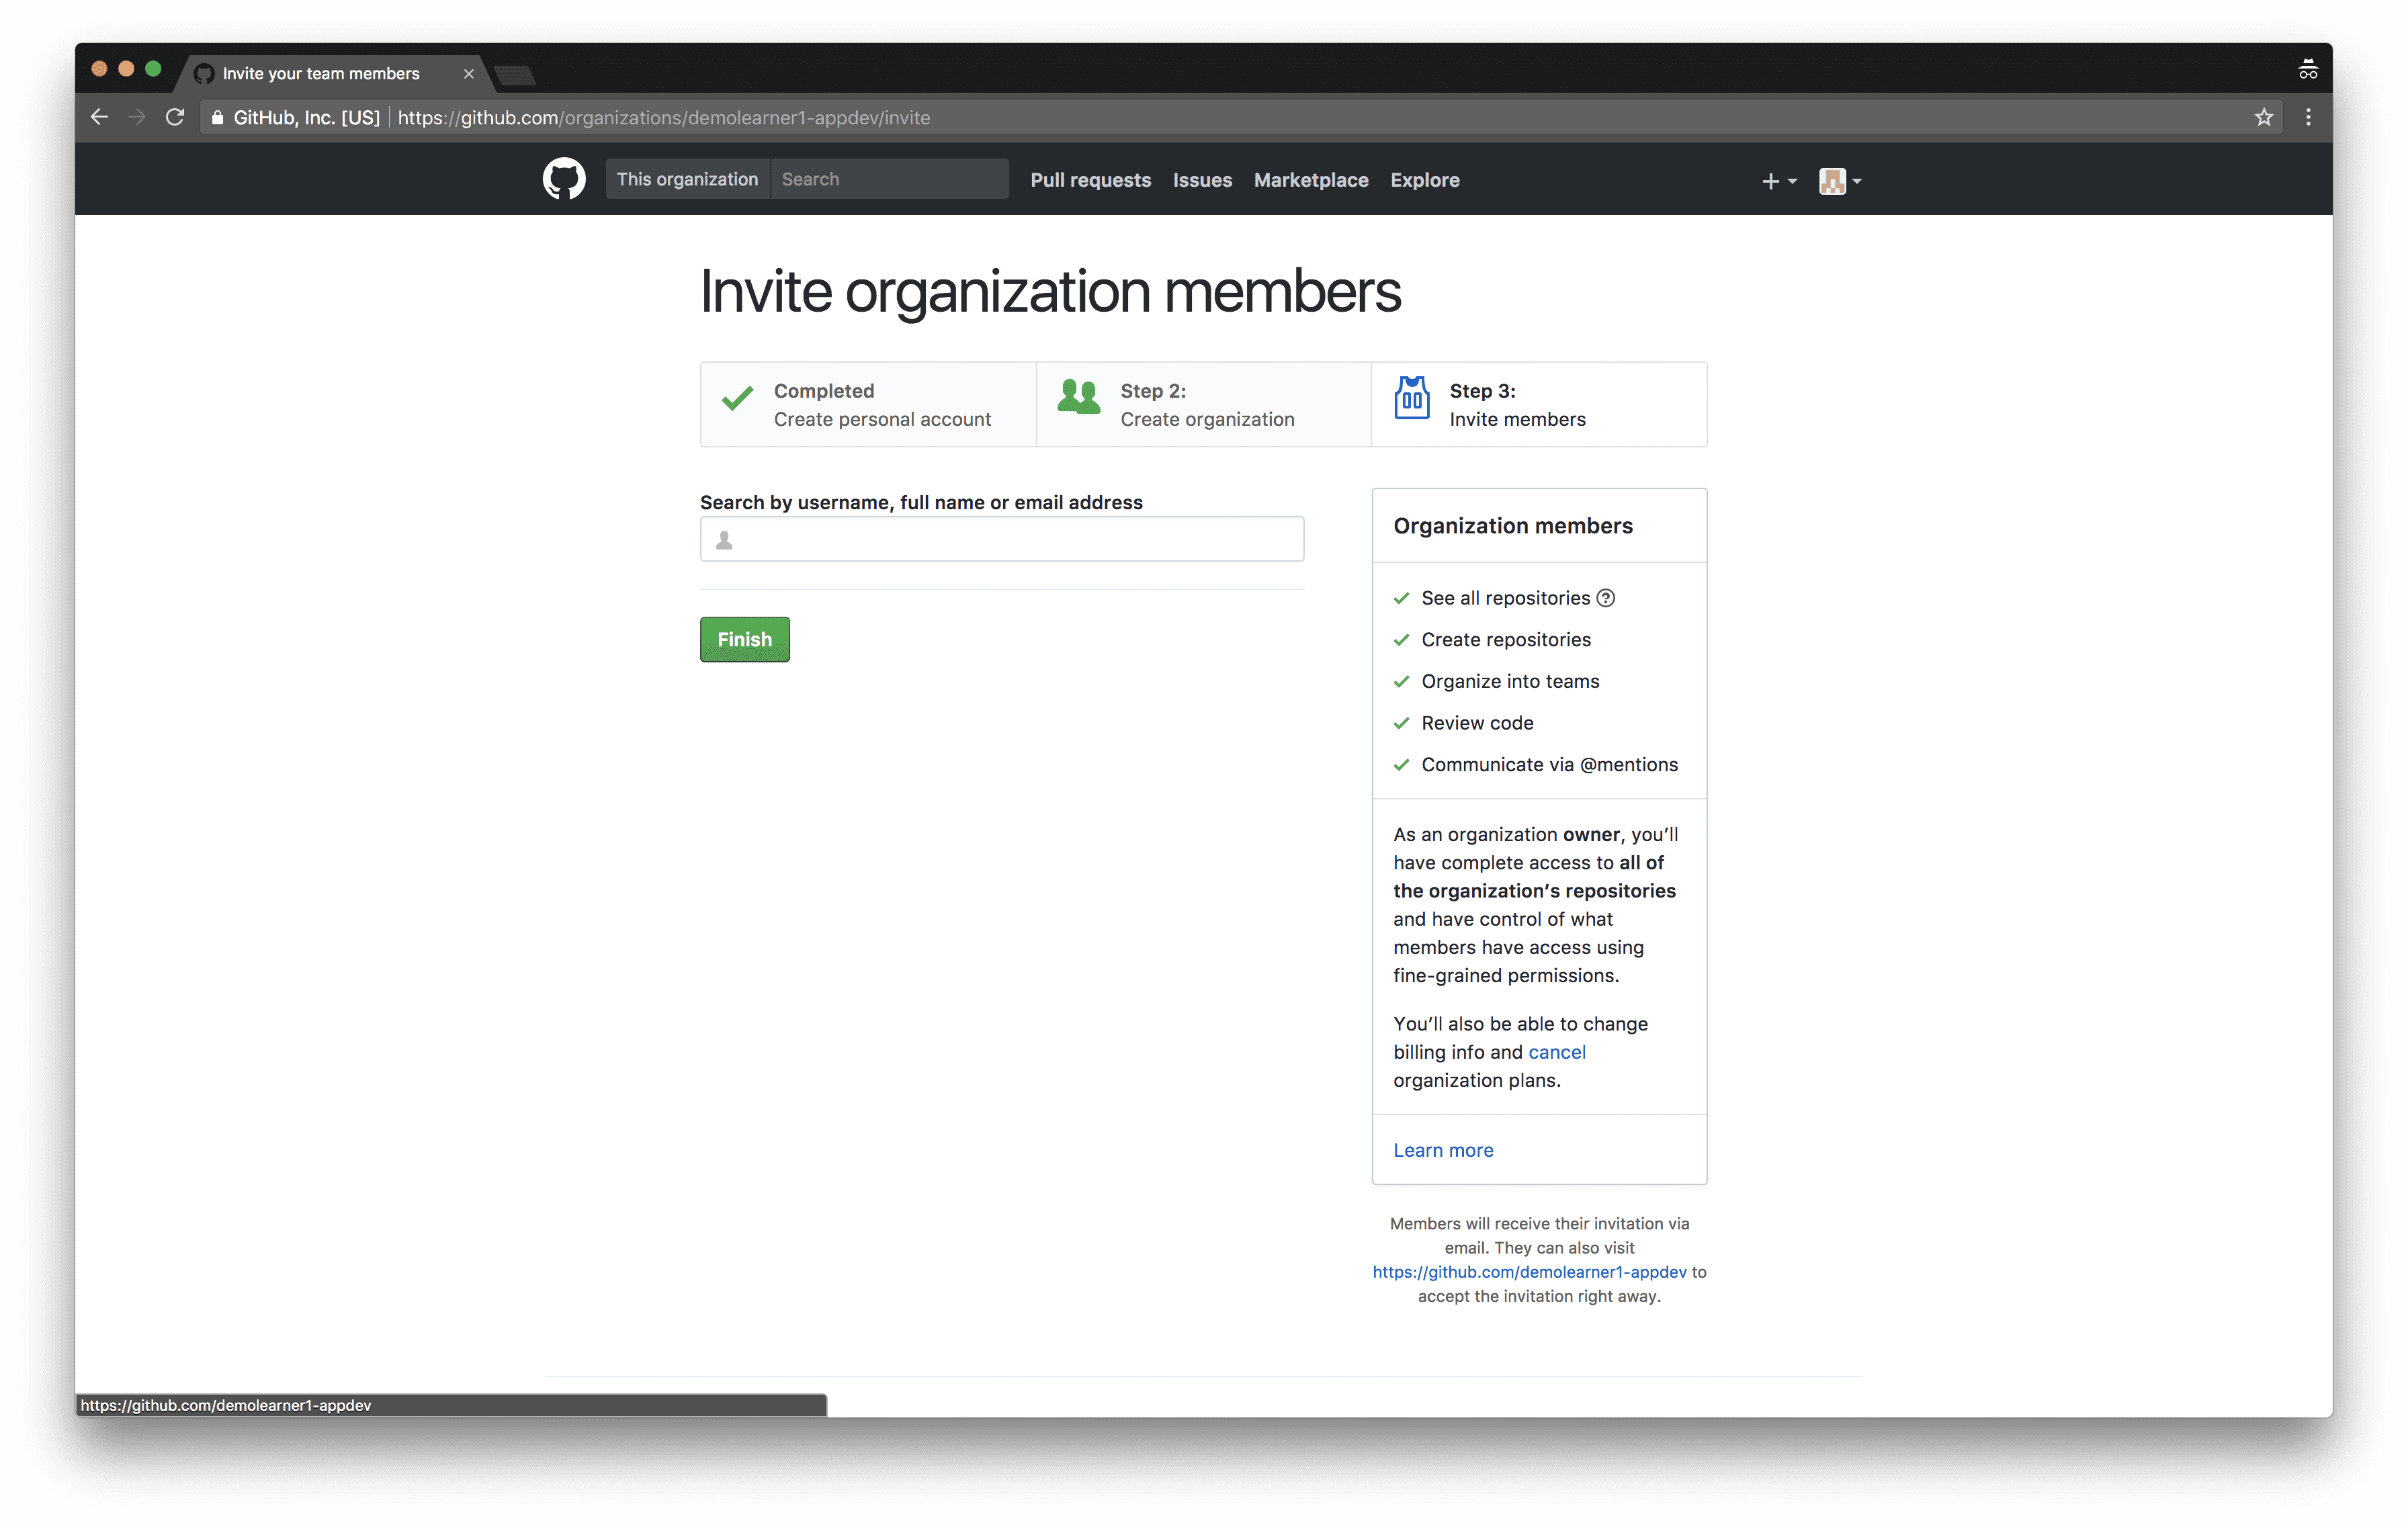
You can “Skip” or “Finish” the rest of the screens:
Login to Canvas
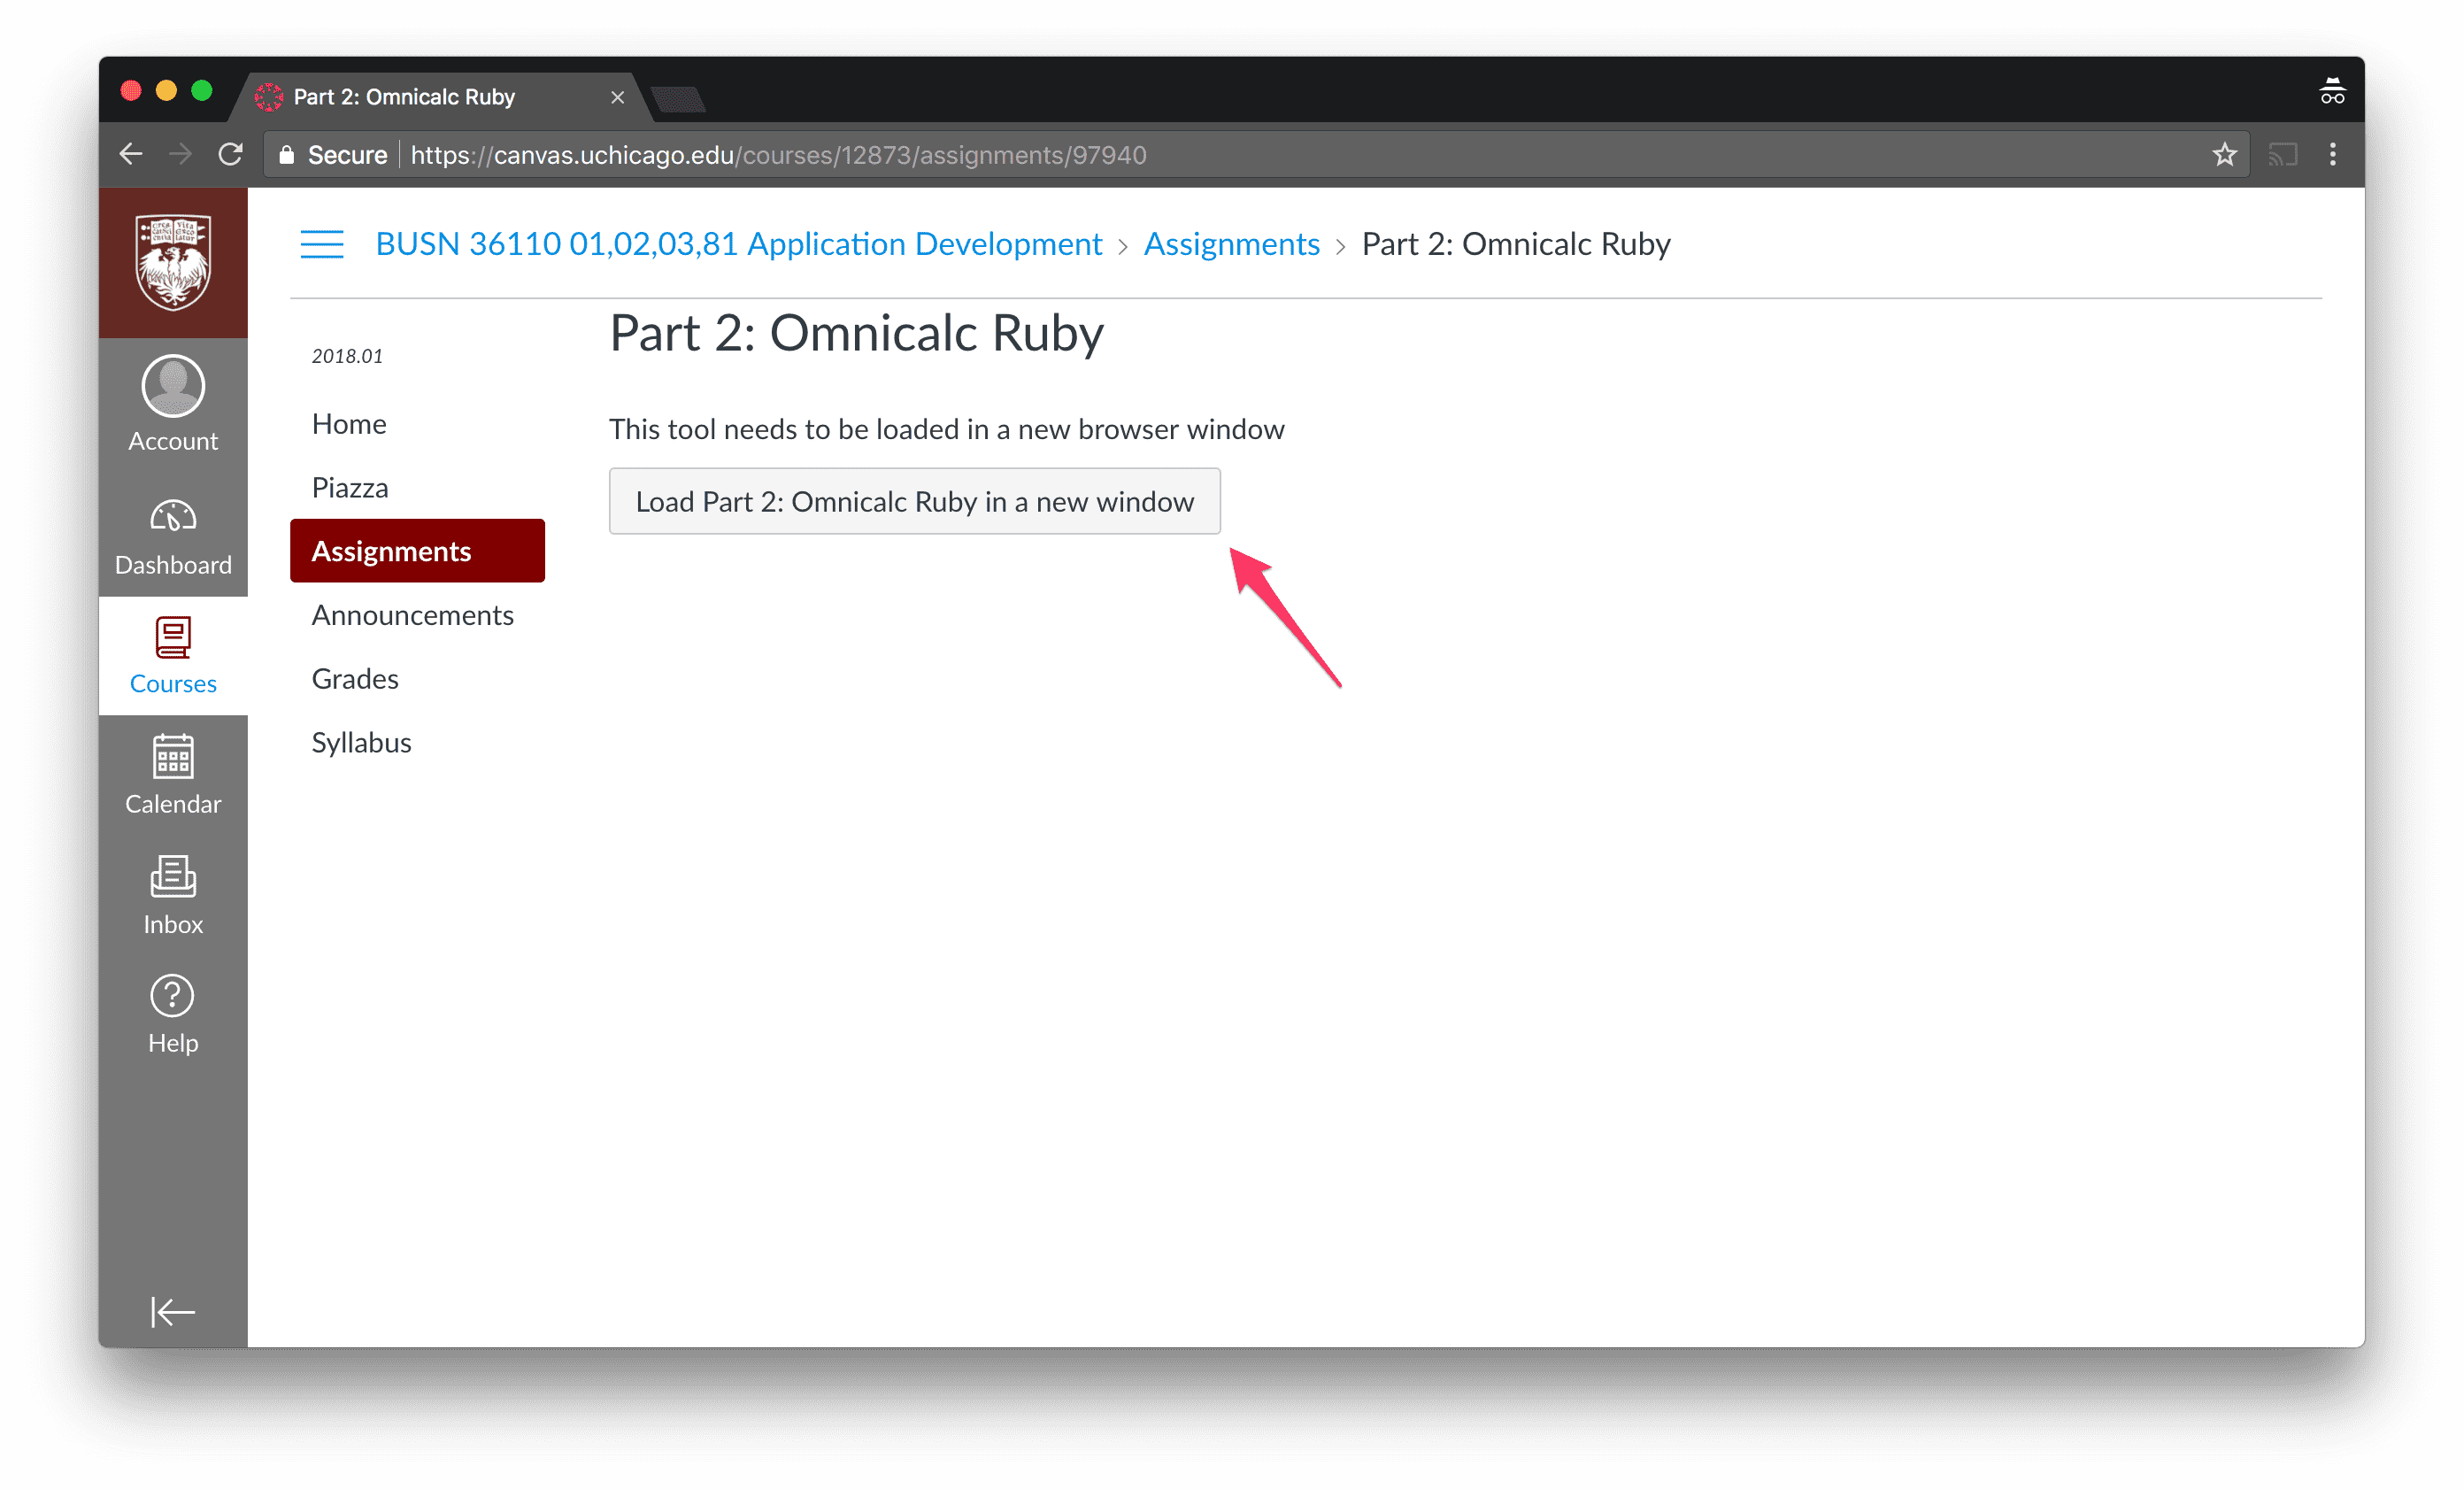
Open up the Assignments tab and make sure they’re sorted by type.

Scroll down to the assignment you want to start and click the link that says ‘Load [your assignment name] in a new window’ (the name of the project will vary).
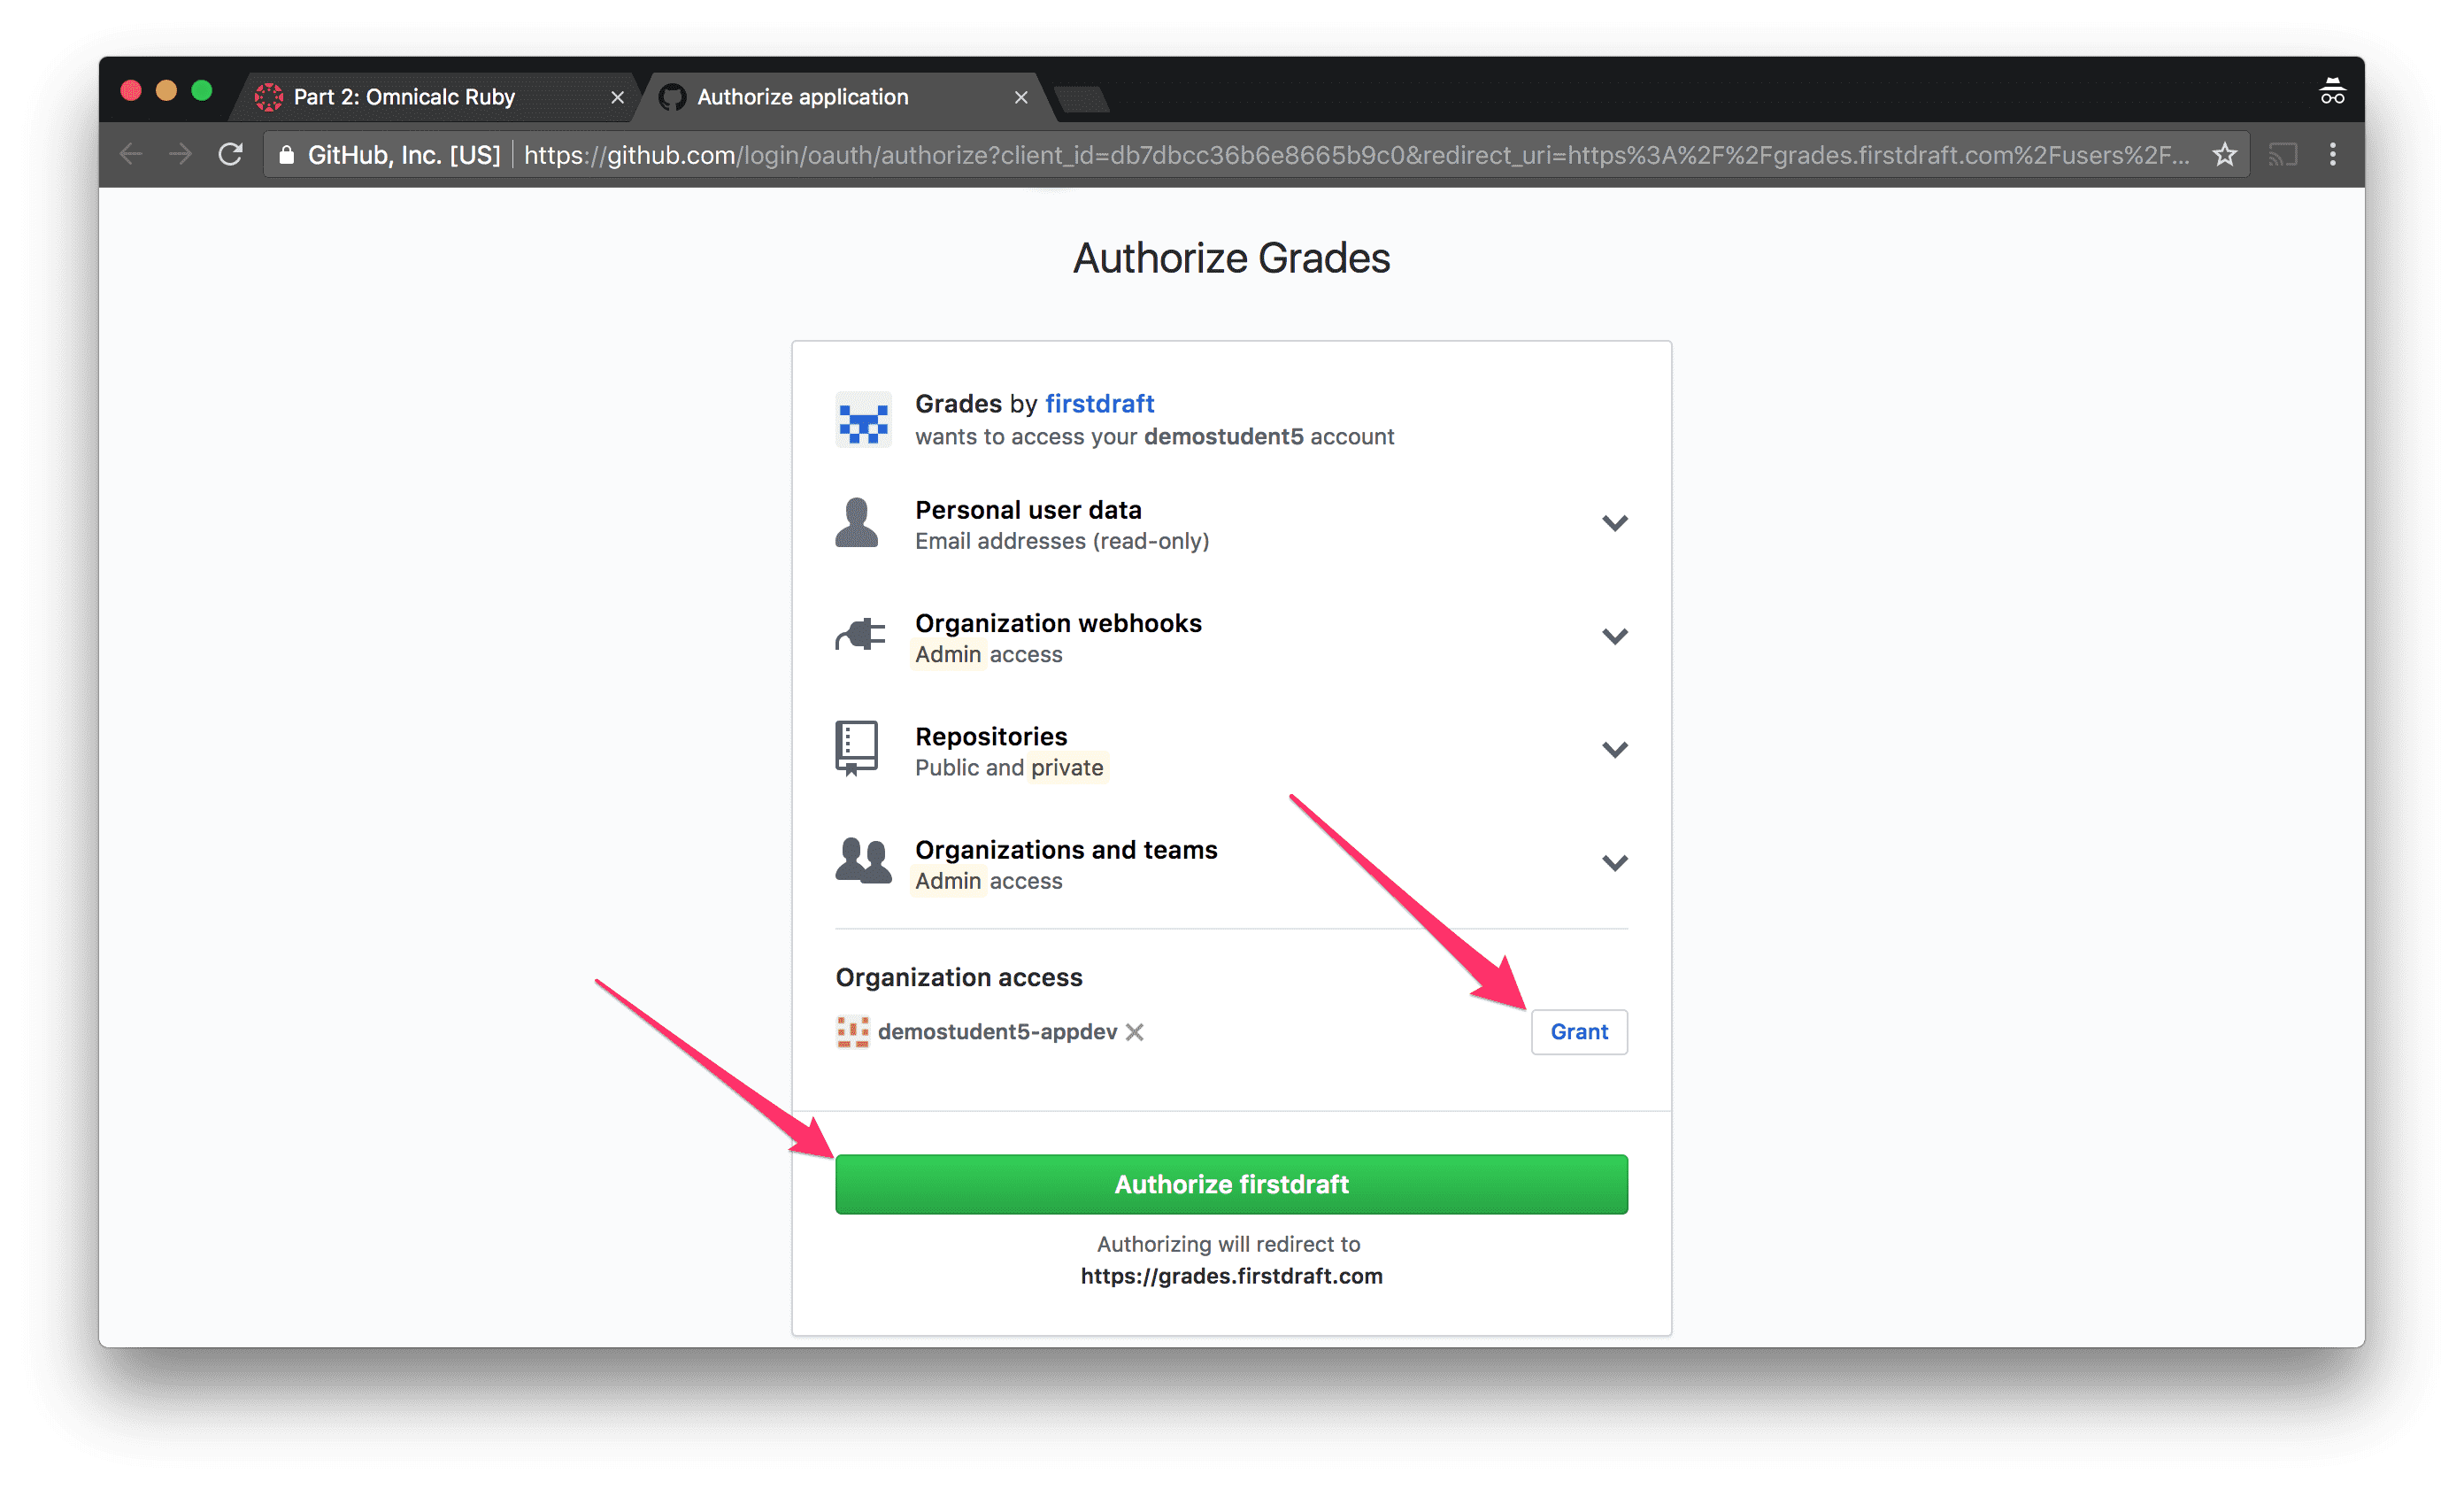
Before you click “Authorize”, make sure to click the “Grant” button next to the organization that you created earlier. Only then, click authorize to allow the firstdraft Grades application to access your account.
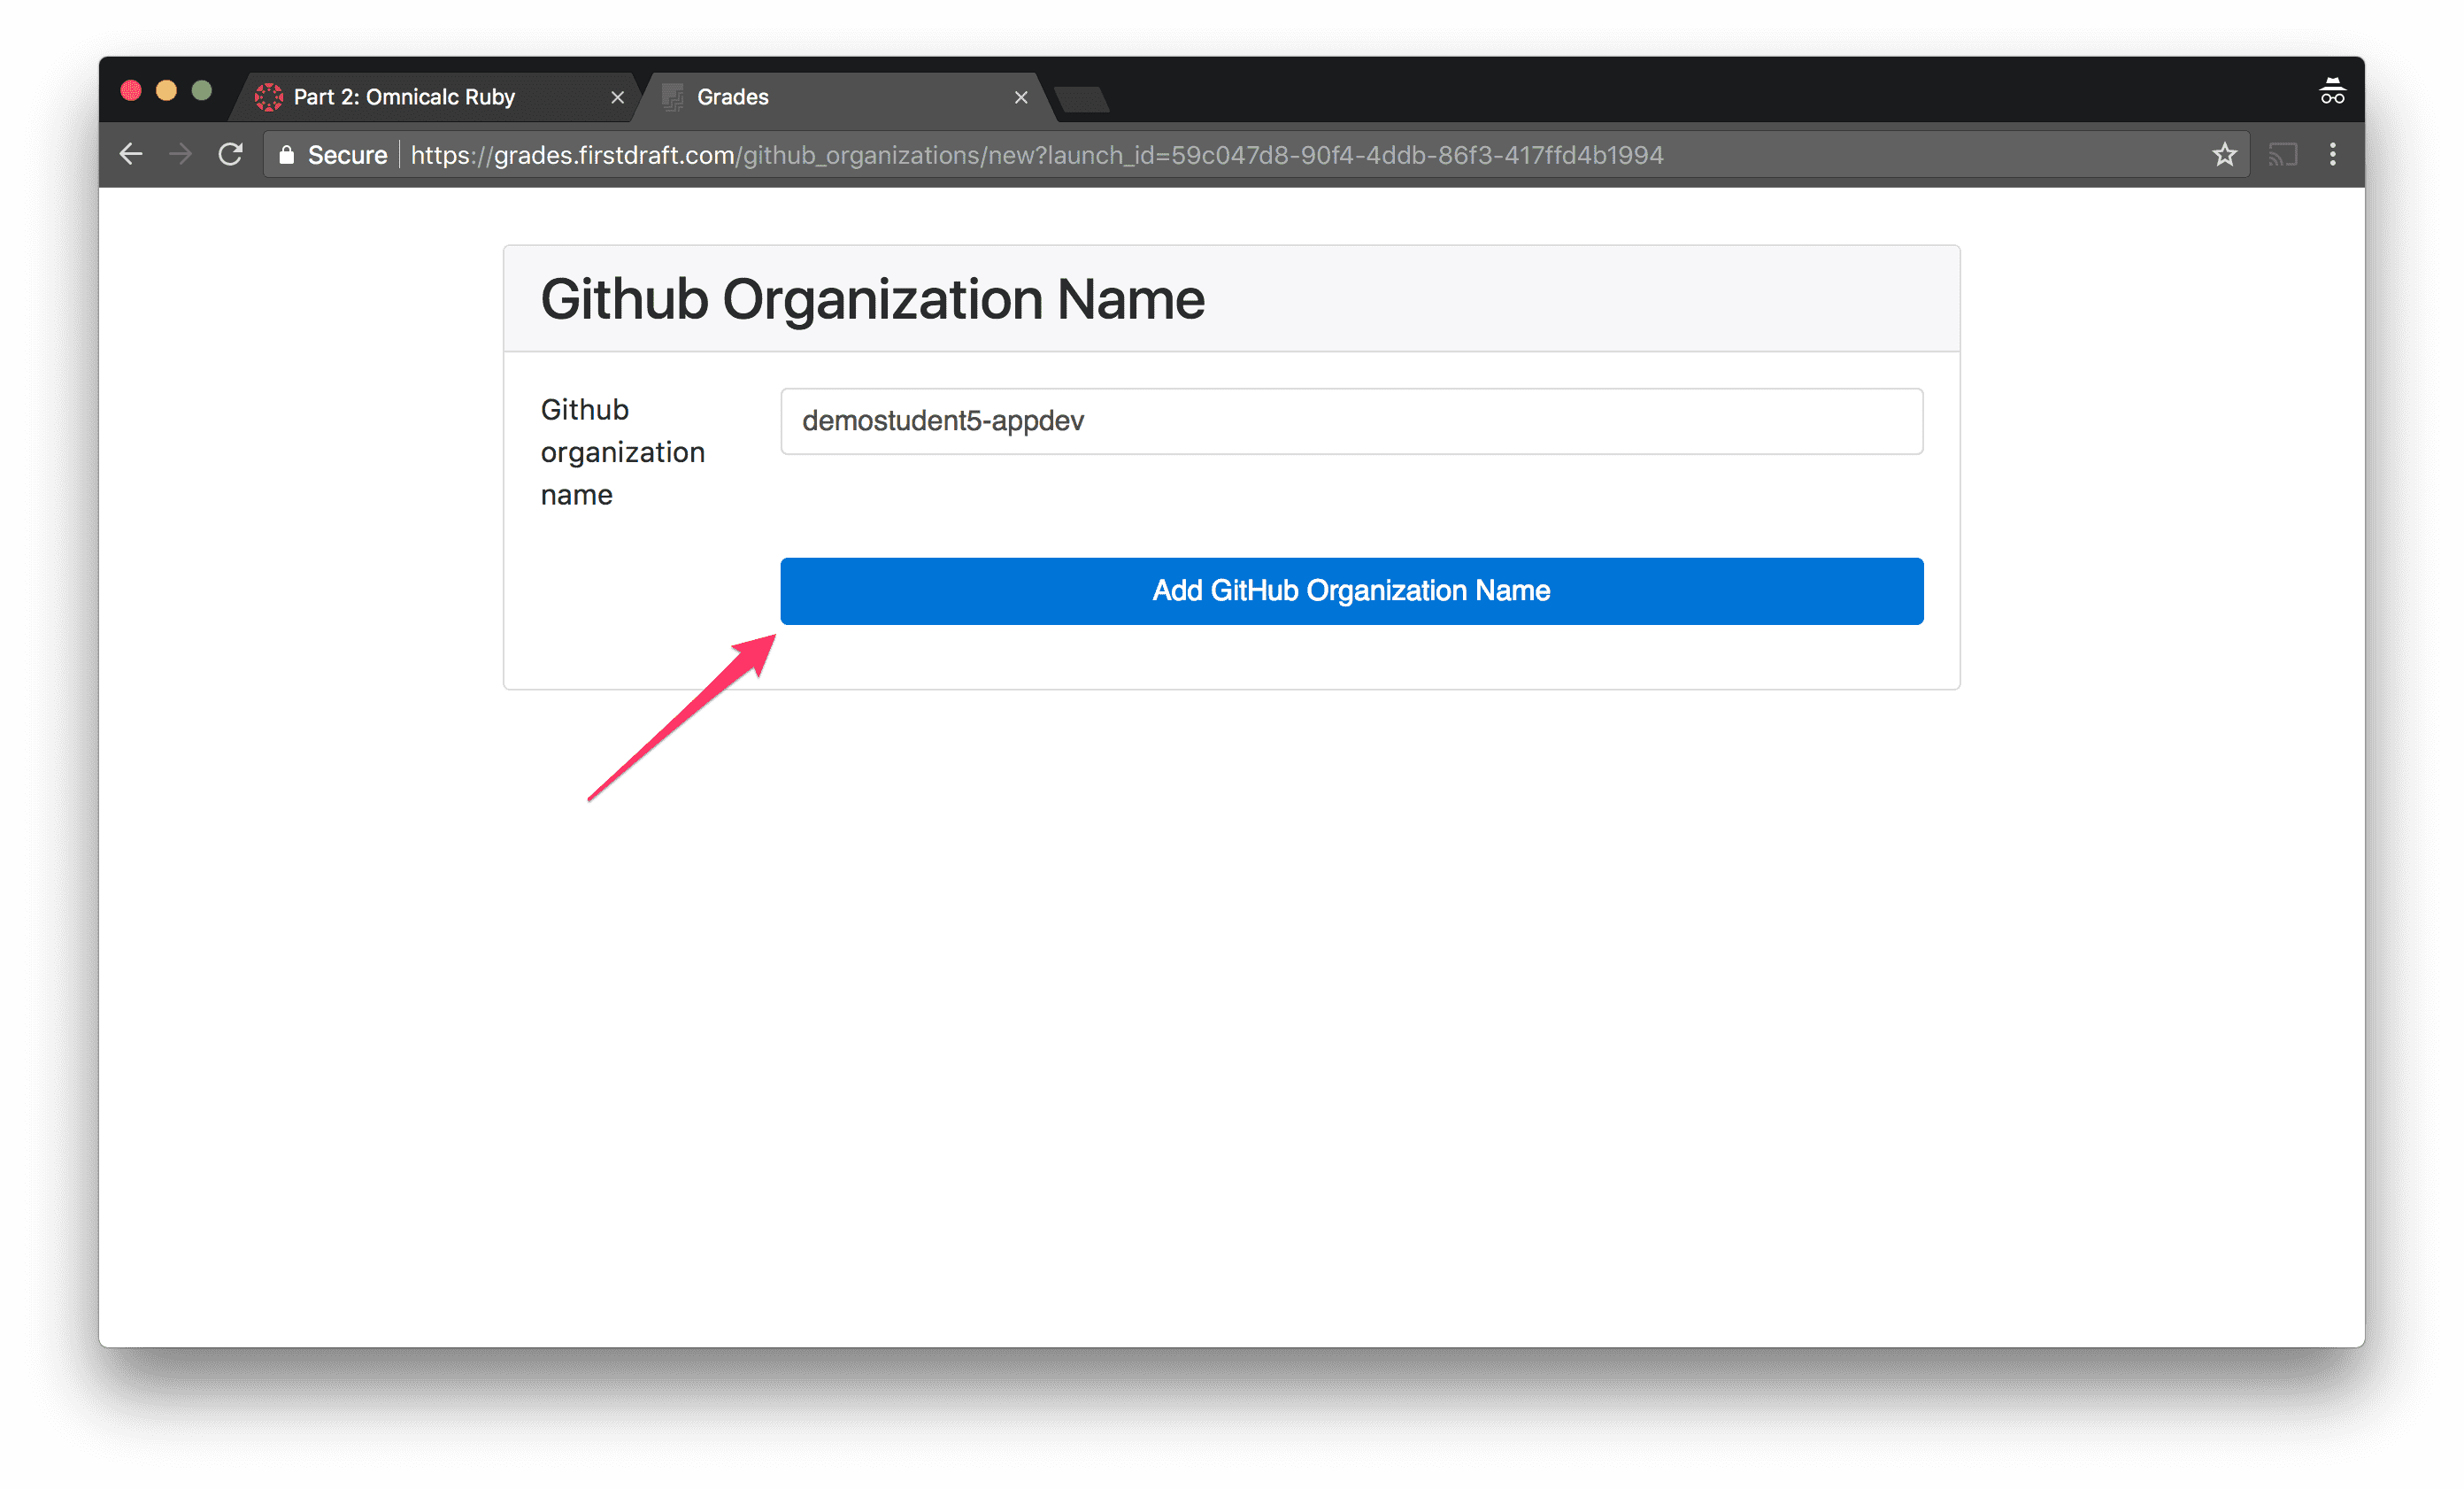
Select the name of your GitHub organization and submit the form.
The next screen will ask you to accept an invitation to a GitHub team. You can click the link on that screen to accept, or you’ll have an invitation in your email inbox as well.
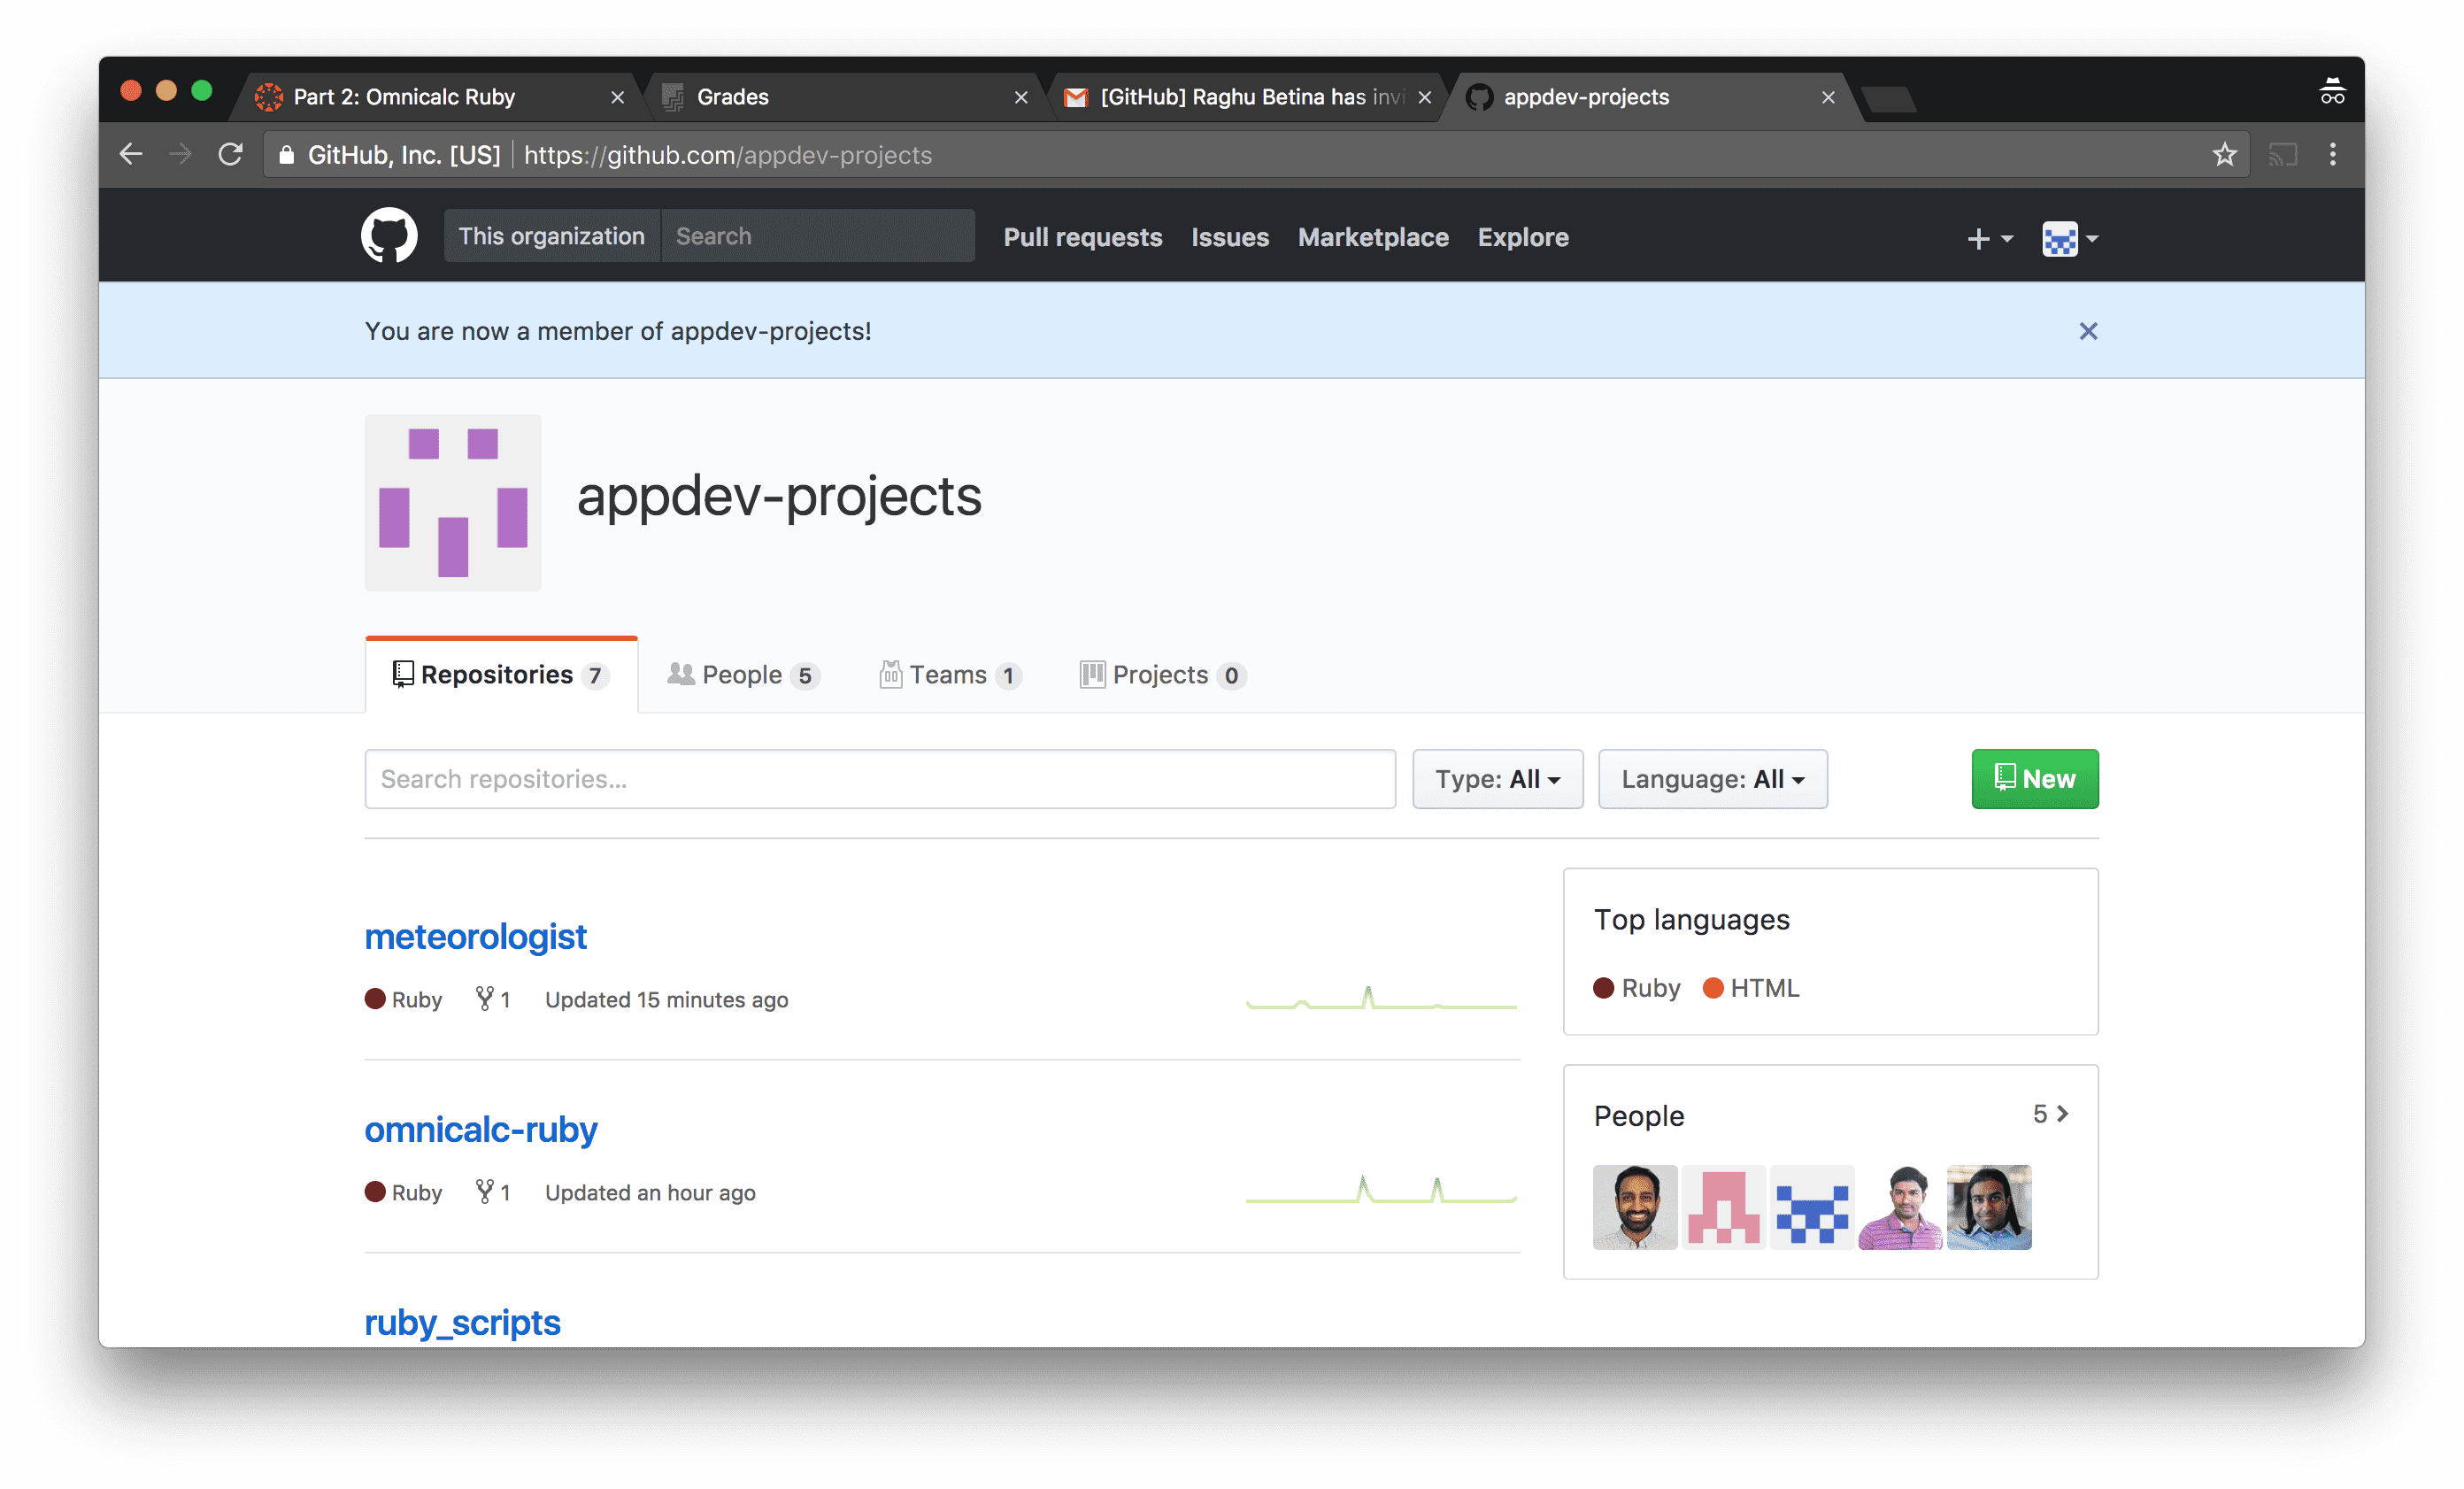
Once you’ve joined, you should see feedback that you’re now a member of appdev-projects:
Daily workflow
The stuff above about setting up your organization and permissions was just a one-time thing. From now on, you’ll just head to Canvas and click “Load assignment in a new tab”. You should see something like the following (the name of the project will vary):
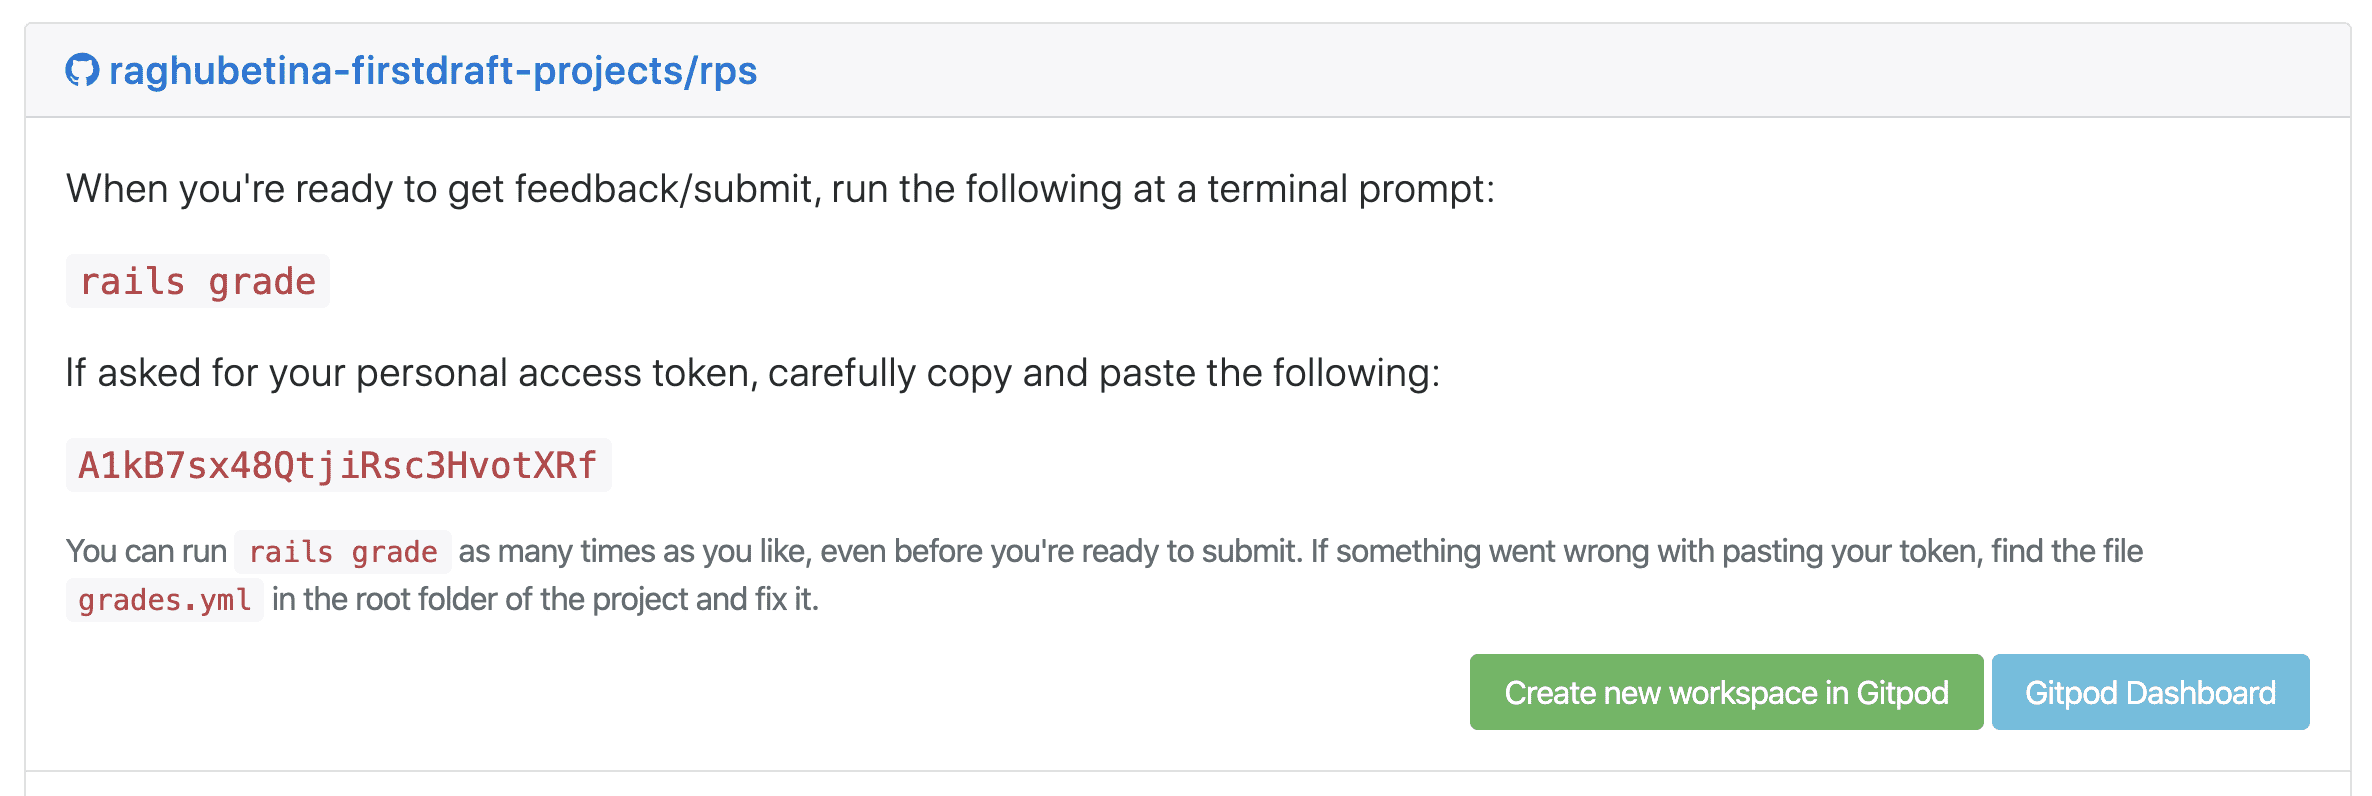
We will automatically make a copy (a “fork”, in GitHub parlance) of the repository under your new GitHub organization. Then, you can choose to either “Create new workspace in Gitpod” or head to your “Gitpod Dashboard” to view existing workspaces.
Either way, once you’re in the workspace, we can get the project loaded up and try out the feedback feature. After the bin/setup script is done running, start working on the project to do whatever the instructions tell you. When you’re ready for feedback, try a new command at a new Terminal prompt:
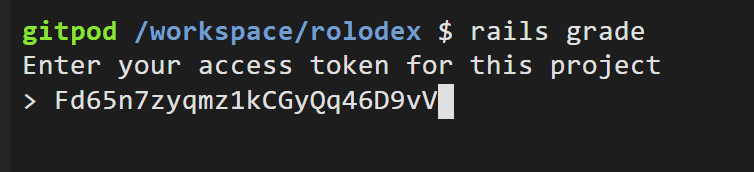
rails grade
You’ll be asked for your access token; copy-paste it carefully from the grades.firstdraft.com page that you loaded from Canvas.
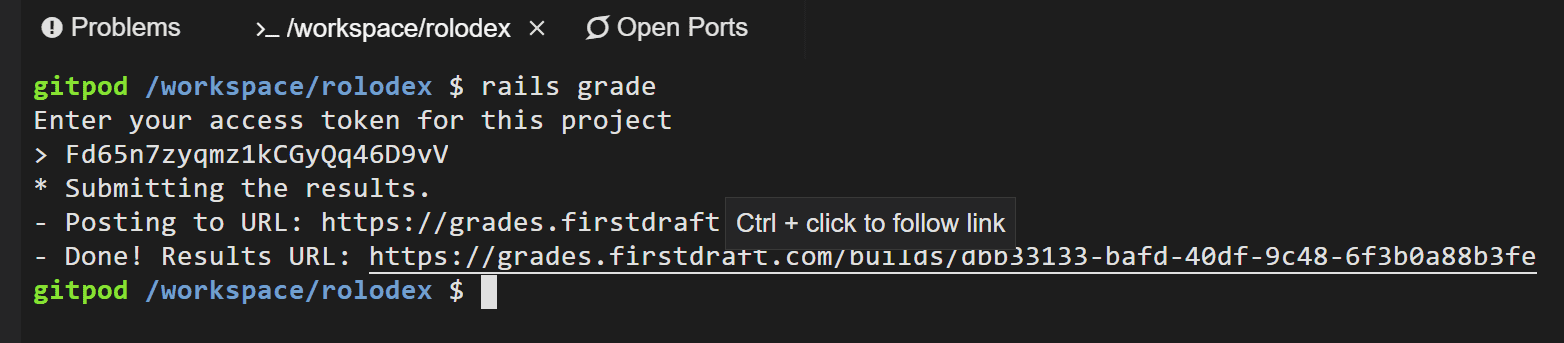
You should see output that looks like:

Copy-paste the Results URL into a new tab, or click on it (but make sure it isn’t truncated).
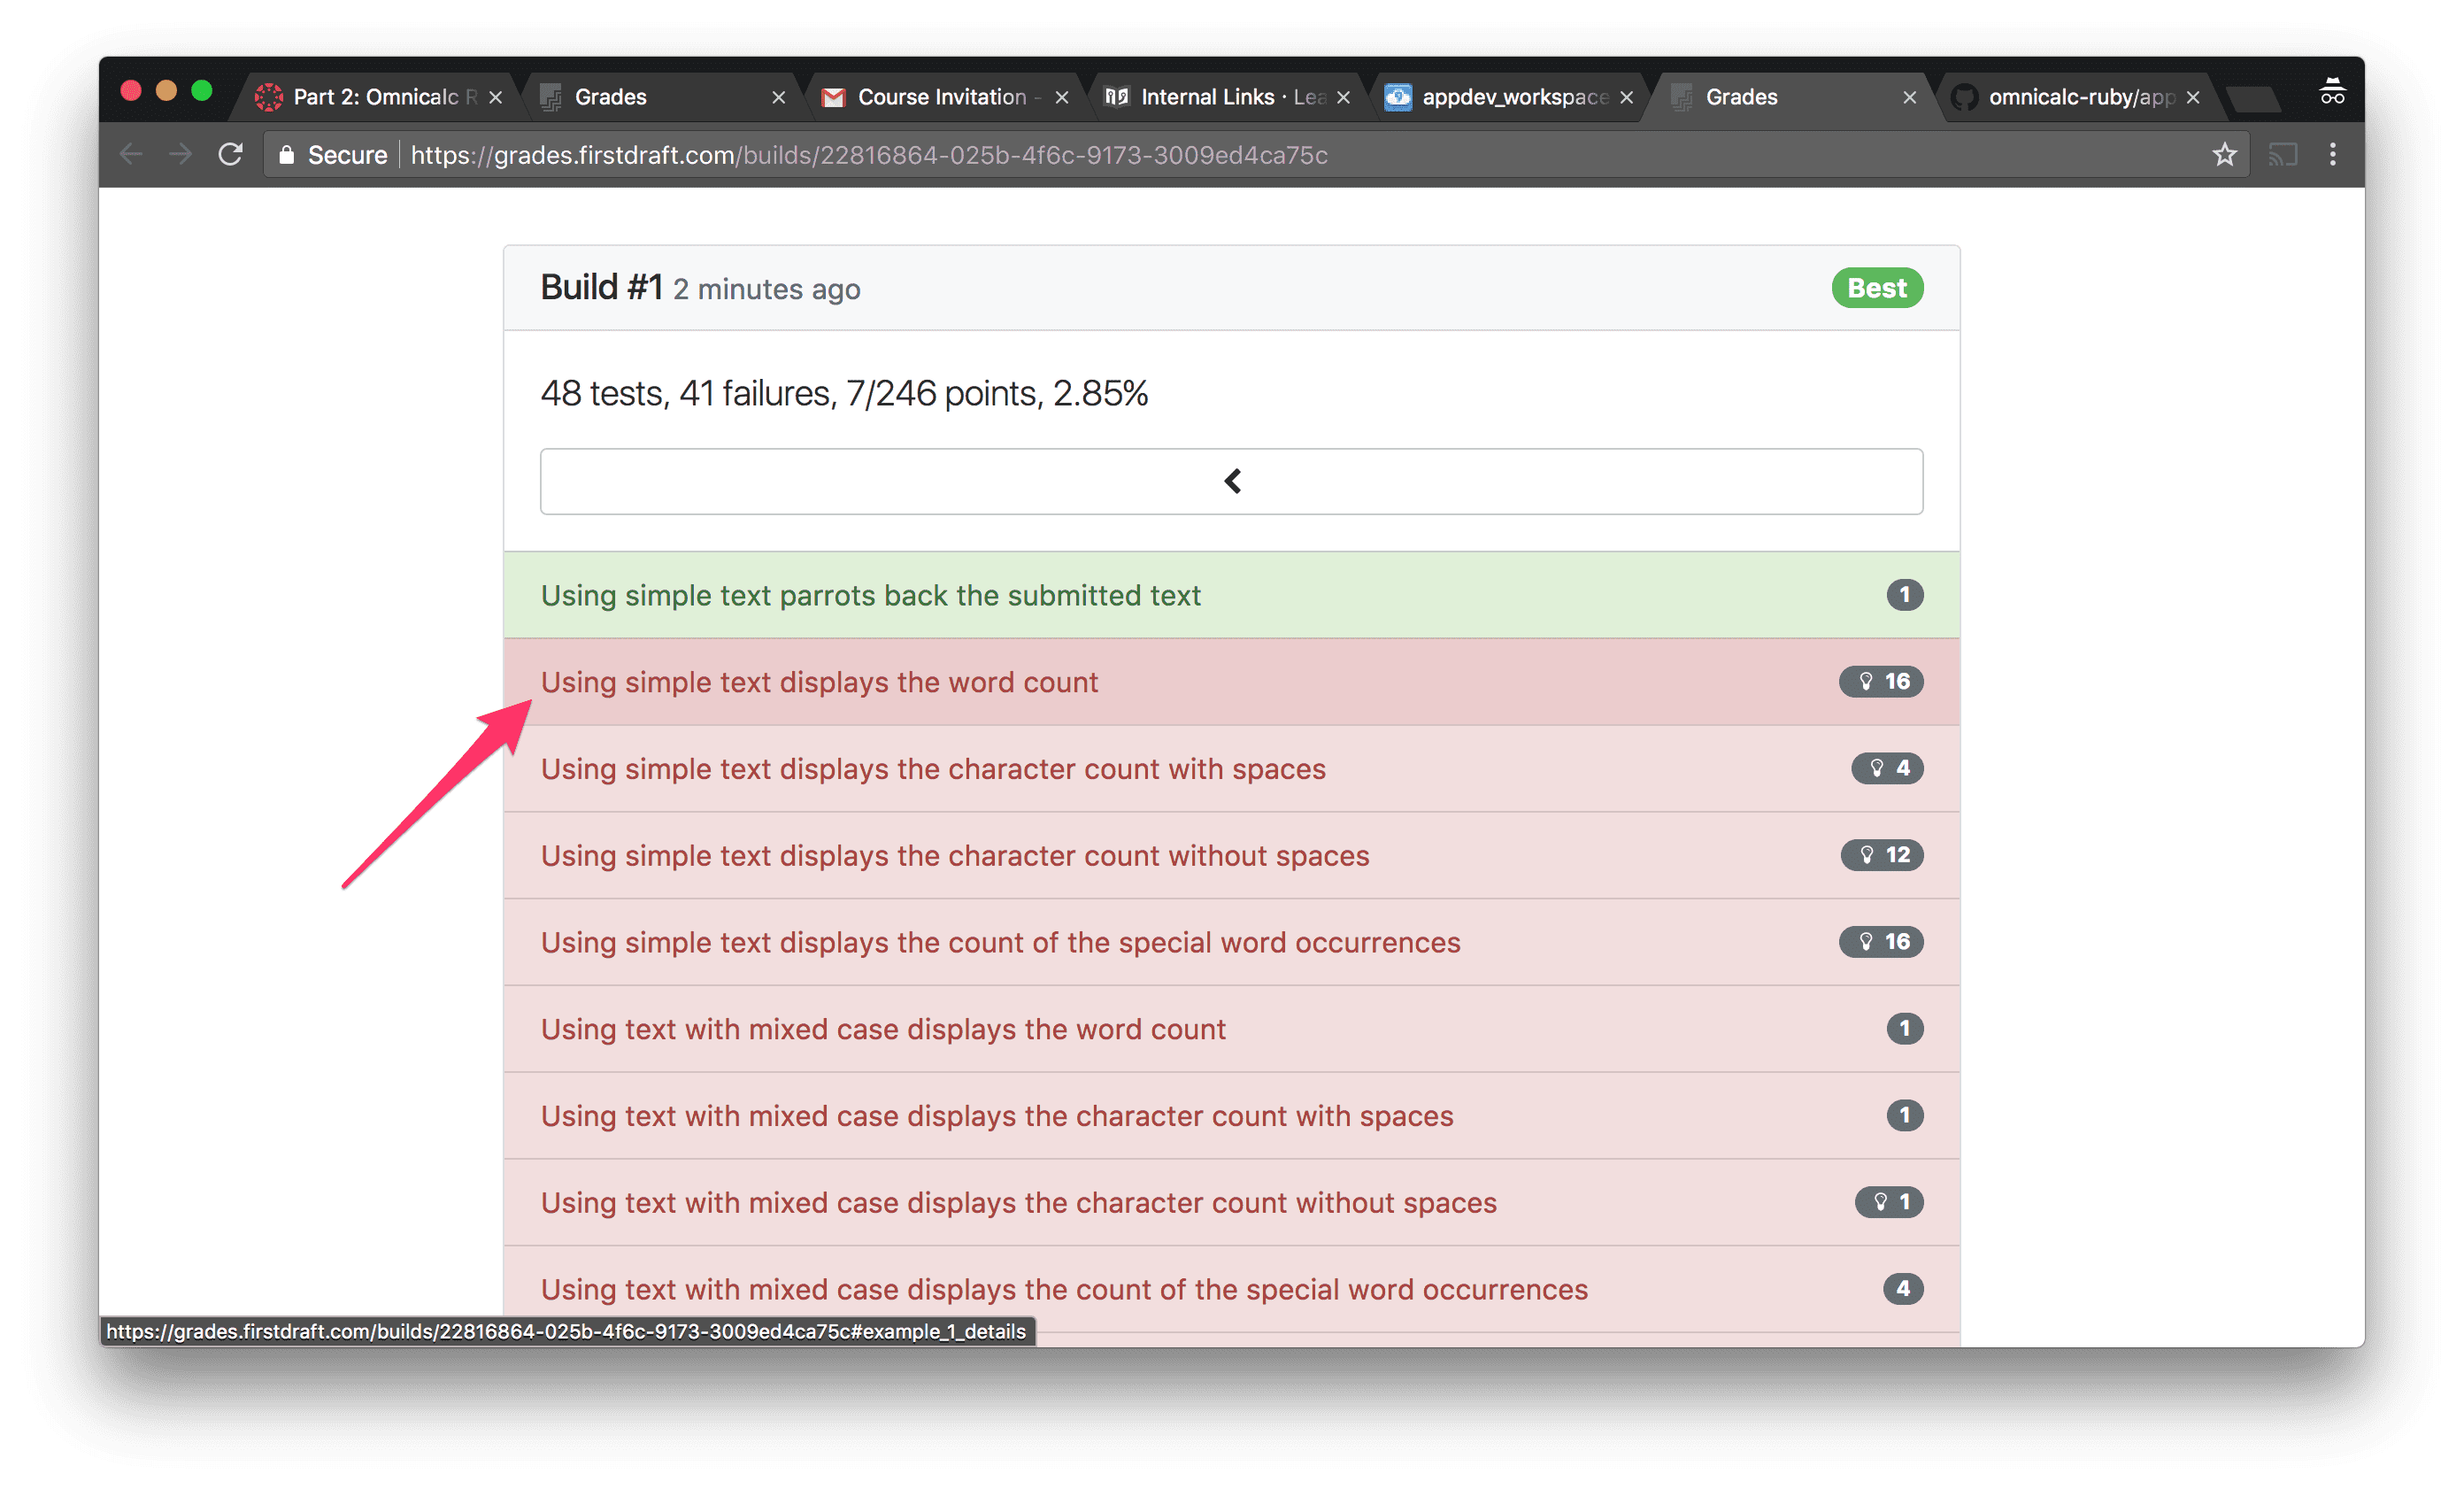
(Some projects aren’t graded; in that case there may only be one dummy test listed.)
You can click on one of the tests to get more feedback on what might have gone wrong:
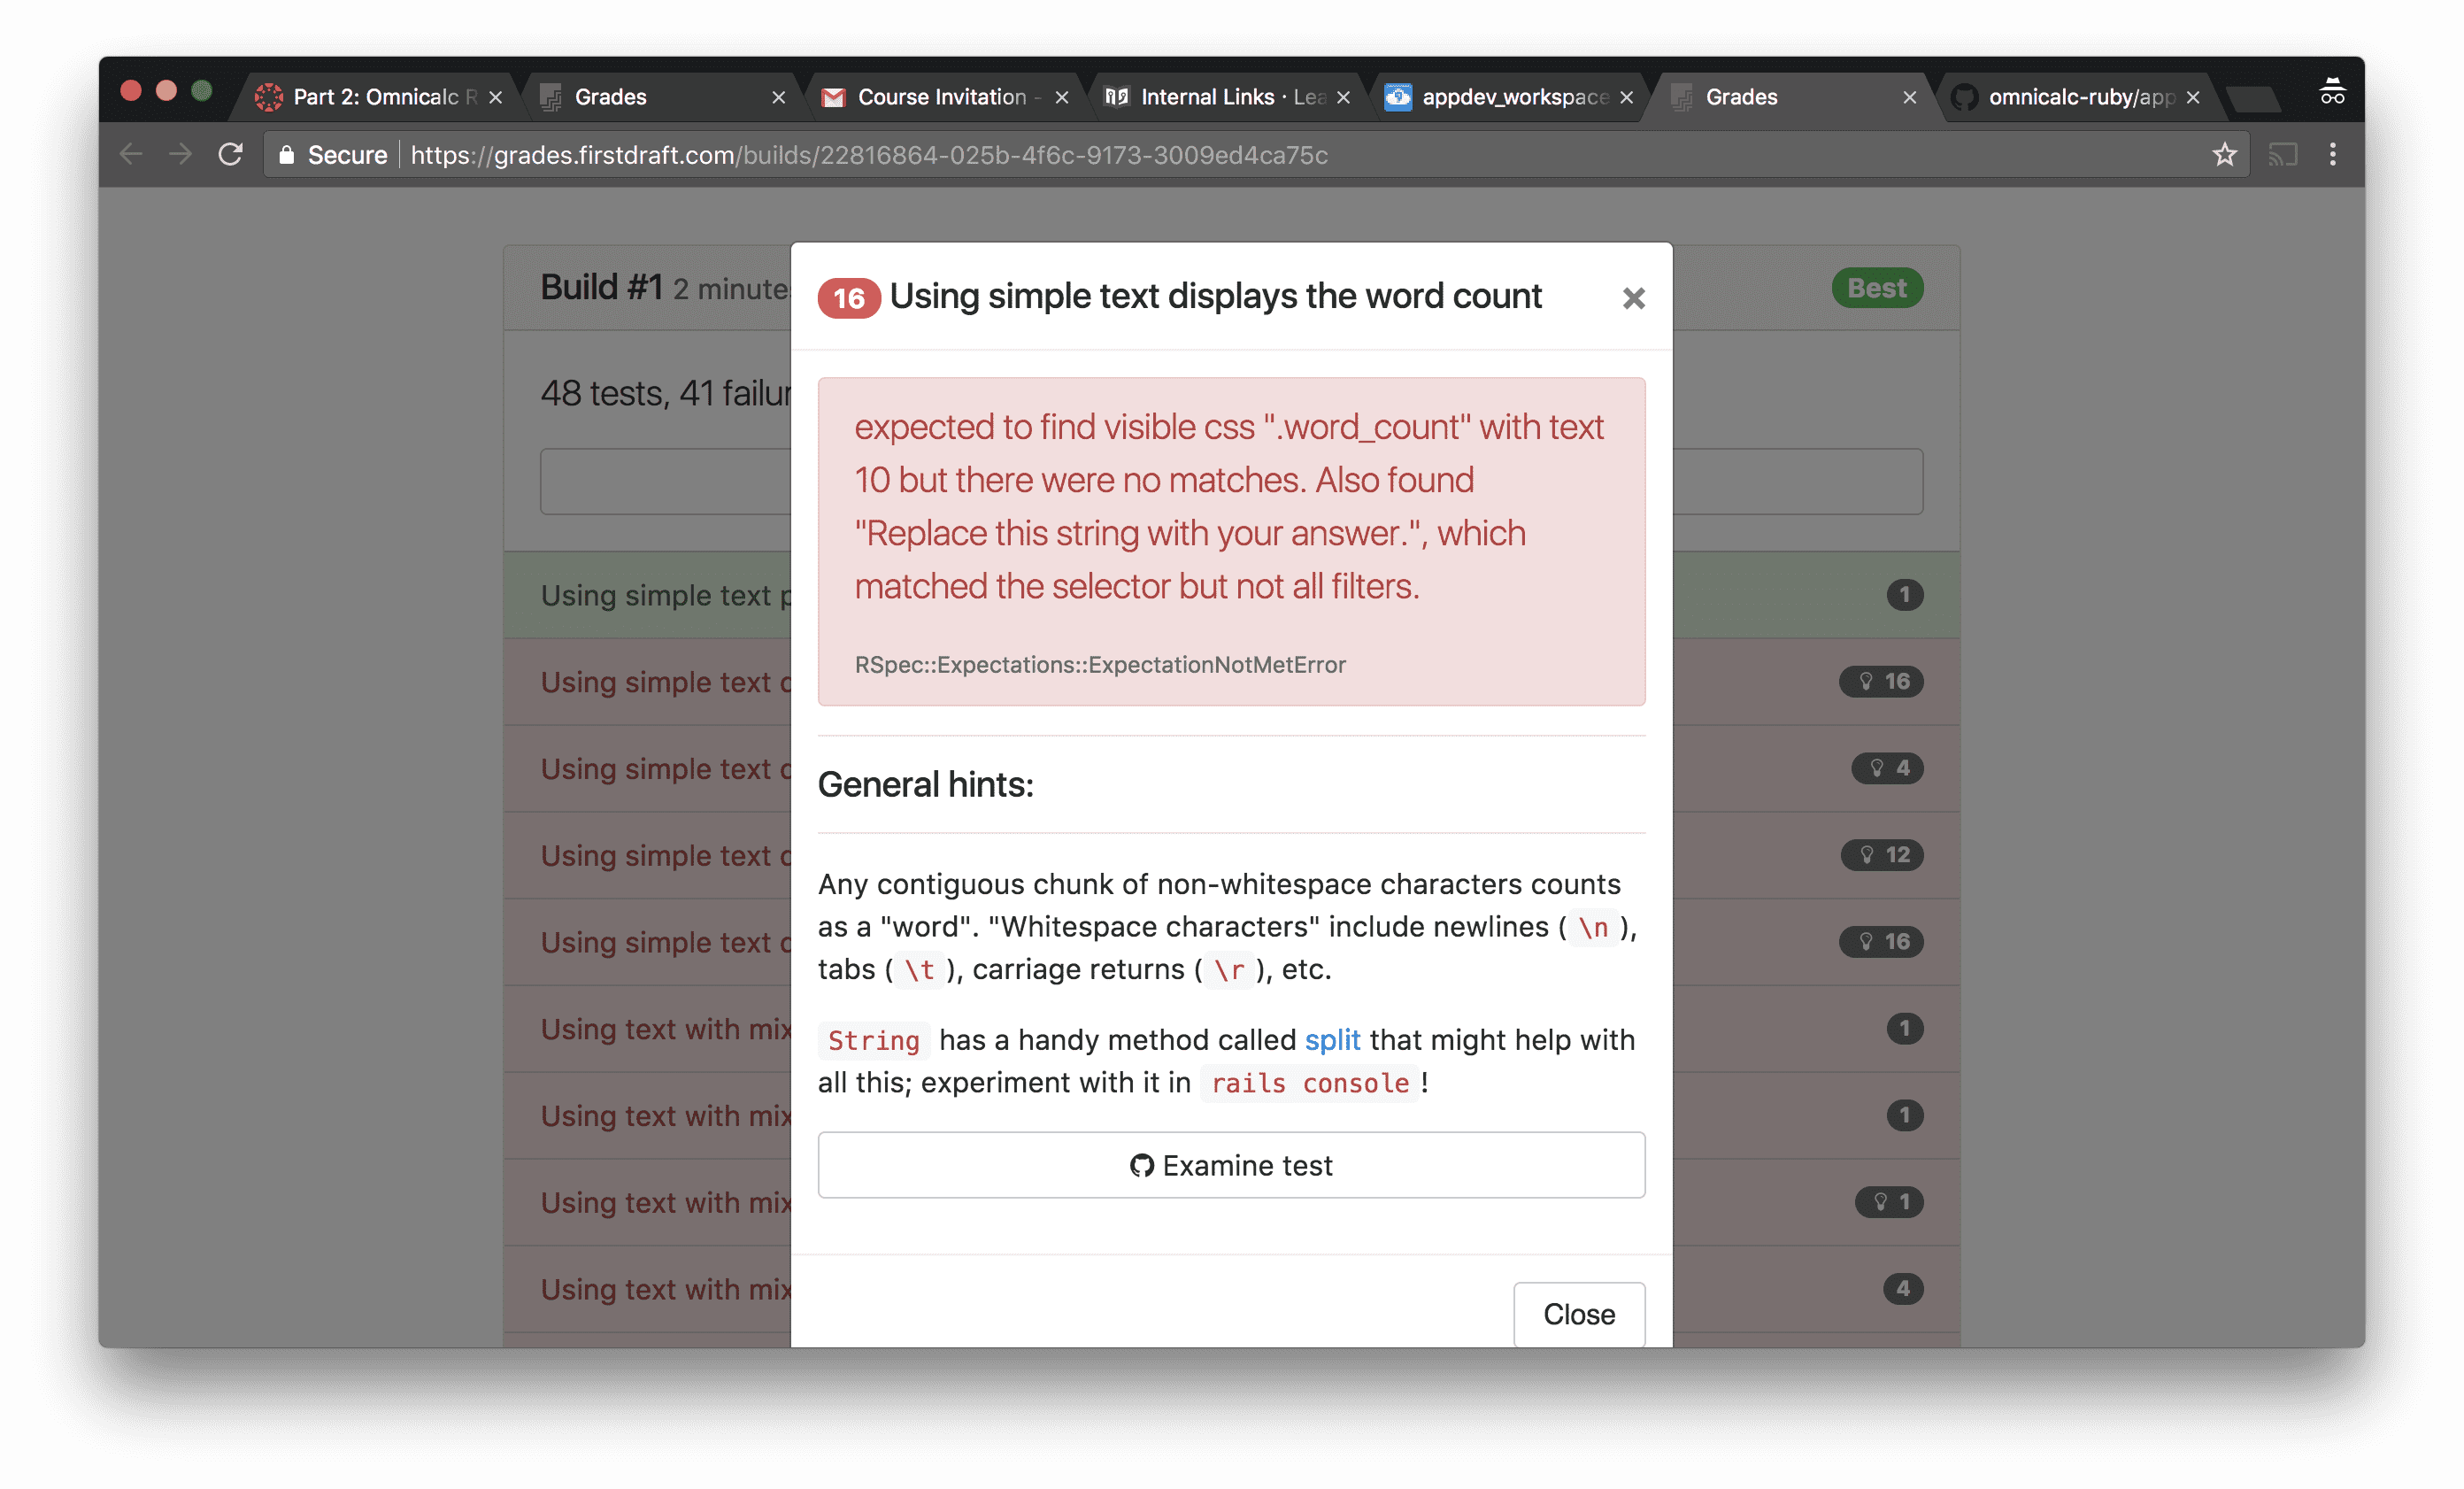
In this case, the test expected to find an element with a class of word_count that contains the number 10, but instead it only found the content “Replace this string with your answer”.
You can click the “Examine Test” button to read the actual Ruby of the automated test; it’s surprisingly readable. Ruby’s testing libraries use method names that are supposed to make tests readable even for non-technical managers and clients. You can see specifically what flow is being tested and what inputs are being used and what the expected output is, and try to reproduce the issue in your own app manually using the same inputs.
You can run rails grade in your Terminal as many times as you want, and you will get a new updated build report each time. It will only report your highest score back to Canvas.
Remember that your first job is always to make your app work as described and test it manually yourself. You should not rely exclusively on the automated tests; they are a terrible way to debug.